Interface Management Site - Custom Images Tab
Concept
The Custom Images tab within the Interface Management Site allows you
to upload and store an additional 12 images/graphics for use on your site.
These extra images can be used within the header or footer or as background
images for specific areas of your site design. The use of additional images
can enhance your site's design, further complementing your museum's main
website.
Task
Uploading an Image
- Sign into https://admin.pastperfectonline.com/.
- Select the Custom Images tab.
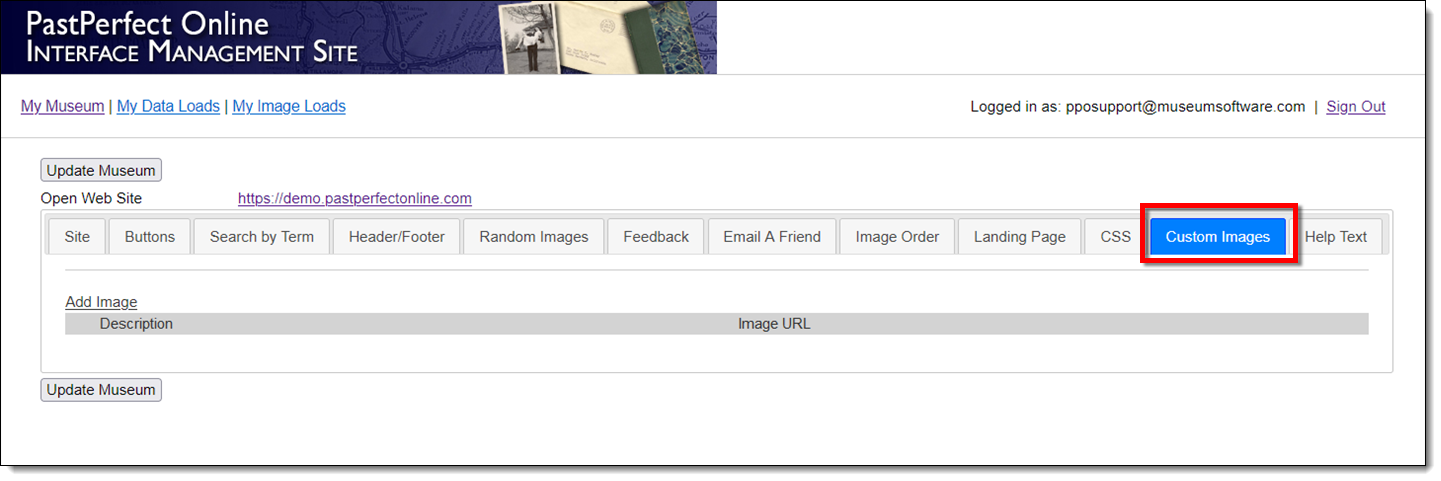
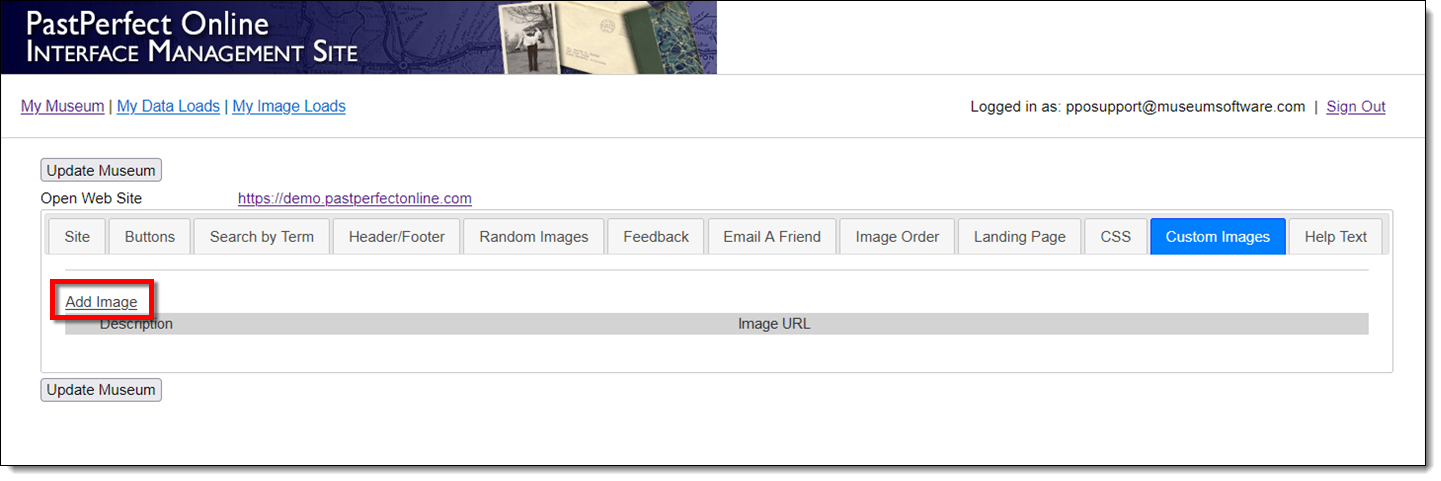
- Click Add Image.
- On the next screen that appears, enter a description for the image
you are about to upload.
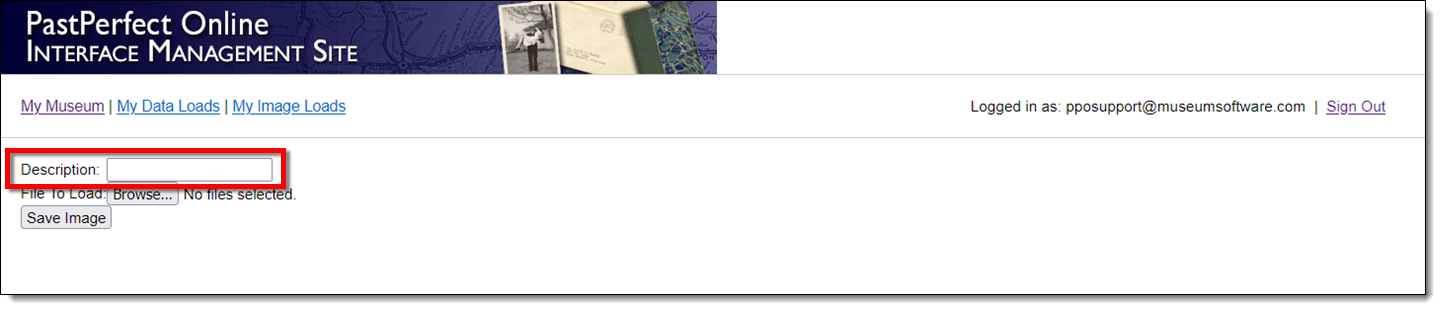
- Click the button to the right of File to Load. This may say Choose File or Browse,
depending on your browser.
- Navigate to where your image is saved.
- Note: You can only upload JPG, PNG, or GIF files.
- Select your image and click Open.
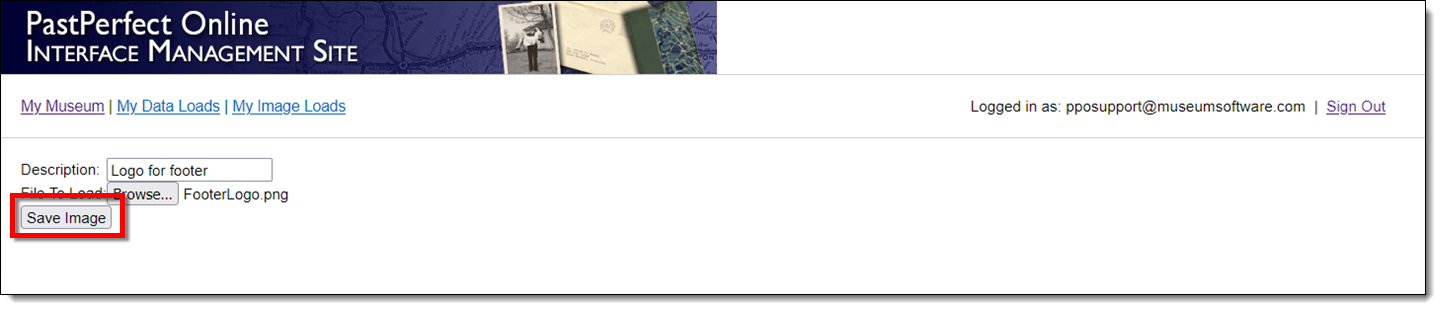
- Once your Description is entered and your file is selected, click
Save Image.
- You will be brought back to the Site tab in IMS.
- Click the Custom Images tab.
- Your image will be listed with the given description.
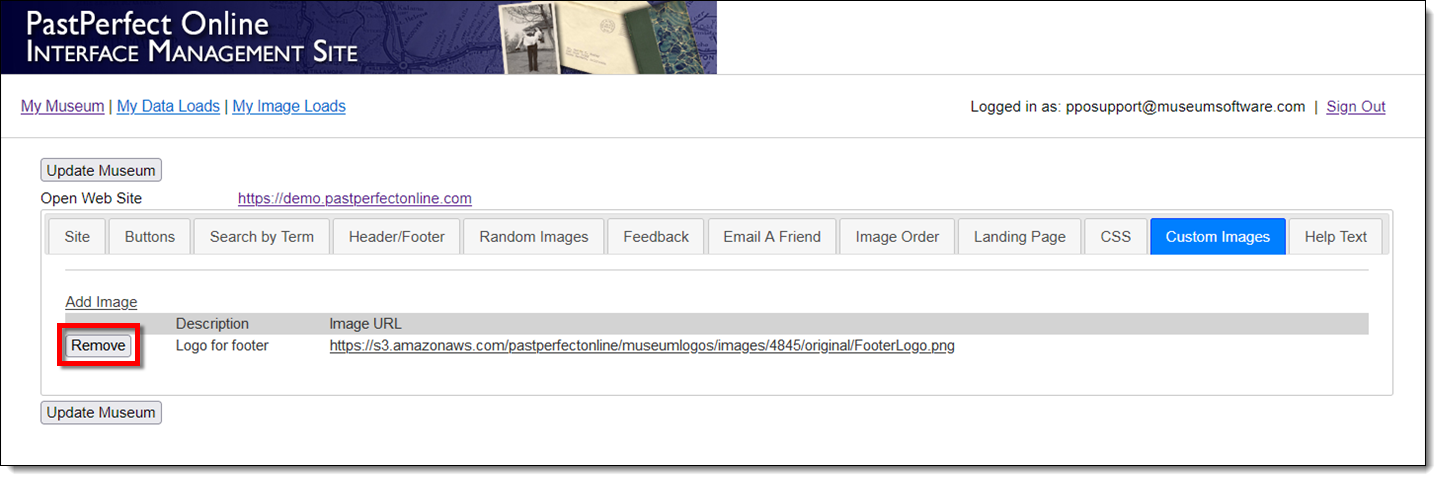
- If you want to delete an image click the Remove button next
to the Description of the image you wish to delete.
Using your Images
This example will demonstrate how to add an image from the Custom
Images tab to your footer.
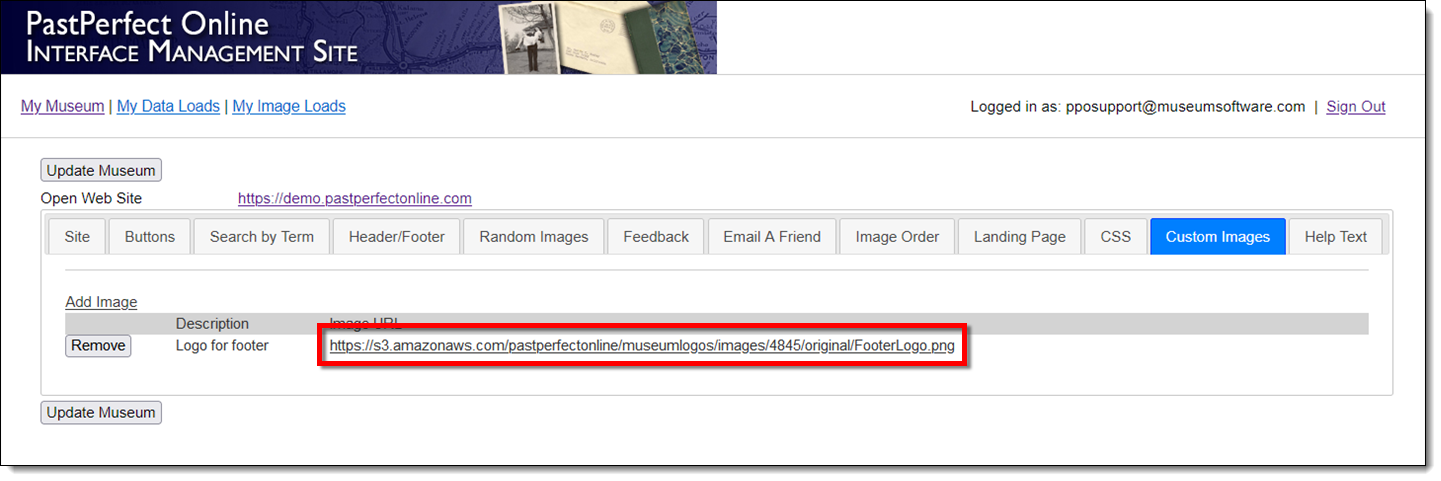
- Copy the URL for your image as displayed on the Custom Images tab
in IMS.
- Click on the Header/Footer tab.
- In the Footer text field enter HTML for the image using
the URL from the Custom Images tab.
- HTML Example for an Image:
<img src="https://s3.amazonaws.com/pastperfectonline/museumlogos/images/4845/original/FooterLogo.png"
alt="Museum Homepage">
- HTML Example for Hyperlinked Image:
<a href="https://museumsoftware.com/" target="_blank">
<img src="https://s3.amazonaws.com/pastperfectonline/museumlogos/images/4845/original/FooterLogo.png"
alt="Museum Homepage"> </a>
- Click the Update Museum button at the top or bottom of your
page to save your changes.
- Click your Open Web Site
link at the top of your page to view your changes.
References