Add Catalog Records to the Incoming Loan
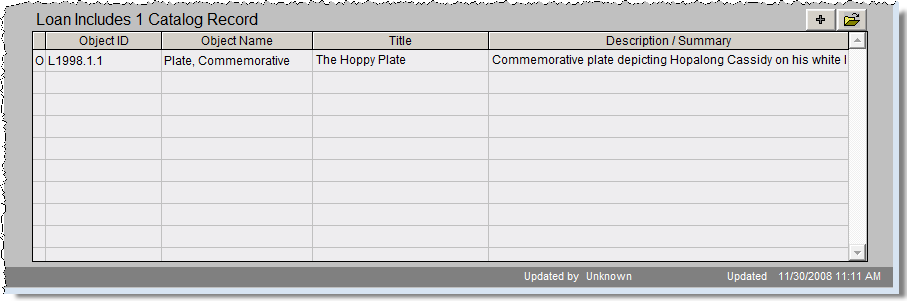
By clicking the Catalog Records button on the Sidebar, you can view a list of the catalog records included in the loan. This list displays as a grid on the bottom portion of the loan screen. At the top right of the grid are the plus sign button to add new items, and the file folder icon to view, delete or edit information on the catalog records.
Incoming Loan Catalog Records List
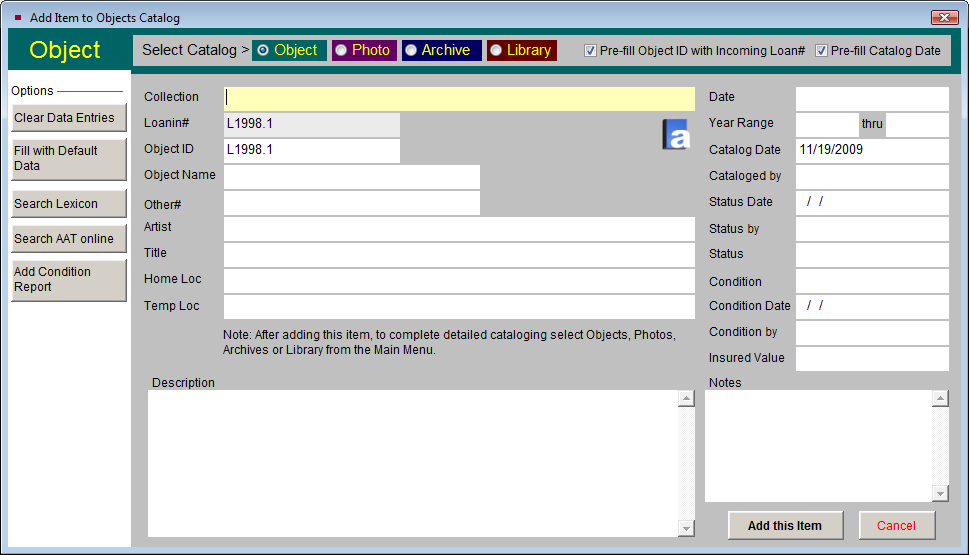
Click on the plus sign button to open the Add Item to Catalog screen, seen below. To add an item, you must be out of Add Mode or Edit Mode. Much like entering a new accession, when you add items to a loan they will be placed in one of the four catalogs. Please be sure to select the radio button at the top of the screen for the appropriate catalog before you begin entering data. For more information about the fields on this screen, please see the section for "Add Catalog Records" in Chapter 5 - The Accession Process.
Add Item to Catalog screen
When you press the Add Condition Report button, a blank condition report screen will appear. For more information about creating a detailed condition report, see Chapter 6 - The Objects Catalog. If you add information to the condition report, you will have the option to update the condition fields on the catalog record with the general condition information when you click Save.
Printing the Loan Form
After catalog records have been added to the loan, you may print the Loan Form to acknowledge the receipt of the loan. The Loan Form lists all the items on the loan, as well as the insurance information and the lender's contact information. The Loan Form may be printed by clicking the Print button in the Navigation Bar and choosing the Loan Form option. You also have the option to print a blank Loan Form if you would like to fill in the form by hand.
TIP: Customize the layout of the Loan Form by going to the Main Menu | Reports | Loans Incoming | Incoming Loan Form | Custom Layout 1 or 2 | Modify Selected Layout.
Assigning Activities
The Incoming Loan screen allows you to track activities related to your loan. You may view these activities by clicking the Activities button on the Sidebar. Common activities include getting the signed Loan Agreement form, arranging insurance, creating condition reports, and renewing or returning the items. You can assign each task to a staff member, give it a due date, then track when the task was completed. This allows you to keep a record of the loan activities on the Incoming Loan screen.
Adding a New Activity - To add a new activity, click the Activities button and then click the plus sign button above the list of activities. The screen in the figure below will appear.
The Activity field allows you to choose an activity. This field is controlled by an authority file drop-down menu. Click on the down arrow to the right of the field to see the choices. To select an activity, click on the term. New terms can be added to the authority file by going to the Main Menu | Setup | Authority Files | Incoming Loans | Incoming Loan Activities.
Add New Activity
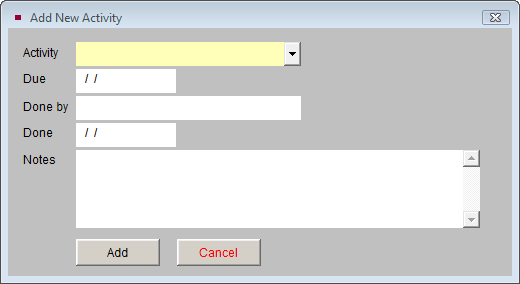
The fields for Due, Done by, Done, and Notes can be filled in if desired. The Done by field is controlled by the Users authority file. To access the authority file, right click or press the F7 key. Click Add to add this activity to the list of activities.
Editing an Activity
As activities are completed, you can enter the date of completion so you have a record of activities and dates. To edit an existing activity, click on the Activities button on the Incoming Loan screen. Then click on the activity and click the file folder icon above the list of activities. This will bring up the Edit / Delete Task screen.
To edit the activity, click the Edit button, or to delete an activity, click the Delete button. Once an activity is complete, enter the date in the Done field rather than deleting the entire activity.
Activities screen
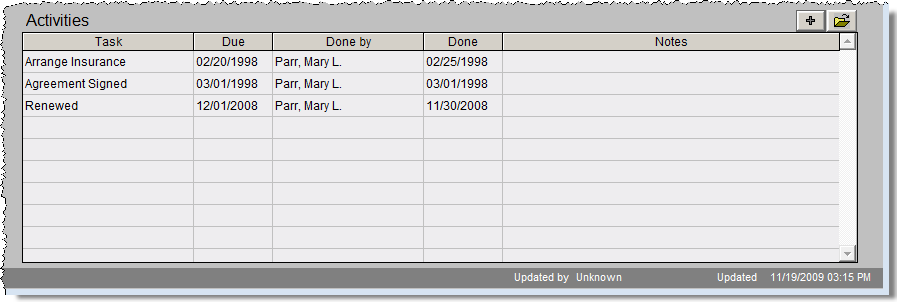
Once activities have been added to a loan, a green data light will appear on the Activities button to indicate activities have been added for the loan.