Add Items to the Exhibit
At the bottom of the Exhibit screen is a grid that lists the catalog records included in the exhibit. In the upper right corner of the grid are two buttons to add, edit, view details, and remove items. When you click on the plus sign button the screen below appears.
This screen allows you to add items from the Objects, Photos, Archives, or Library catalogs to your exhibit. Choose the catalog to search by clicking on the appropriate radio button. Using the Prior, Next, and Browse buttons, locate the item you wish to add. The Browse by button refers to how you want to sort records when in Browse and serves as the link to browse items in that catalog. You can sort by the Object ID or Object Name. When you have found the item, click Add this Item.
Add Items to Exhibit

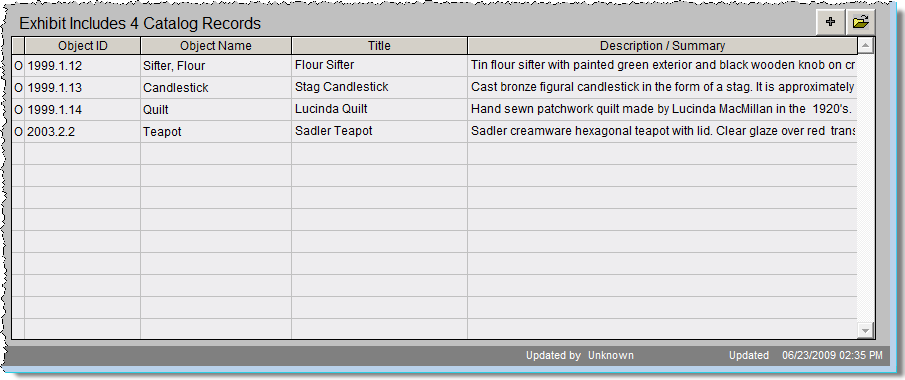
When you are finished adding items, click Close to return to the exhibit's Catalog Records screen view. The new item(s) will now be on the list, as seen below.
Catalog Records List
Editing Items on Exhibit
To change items on the list, click the file folder icon button above to display the screen below.
Edit Catalog Record screen
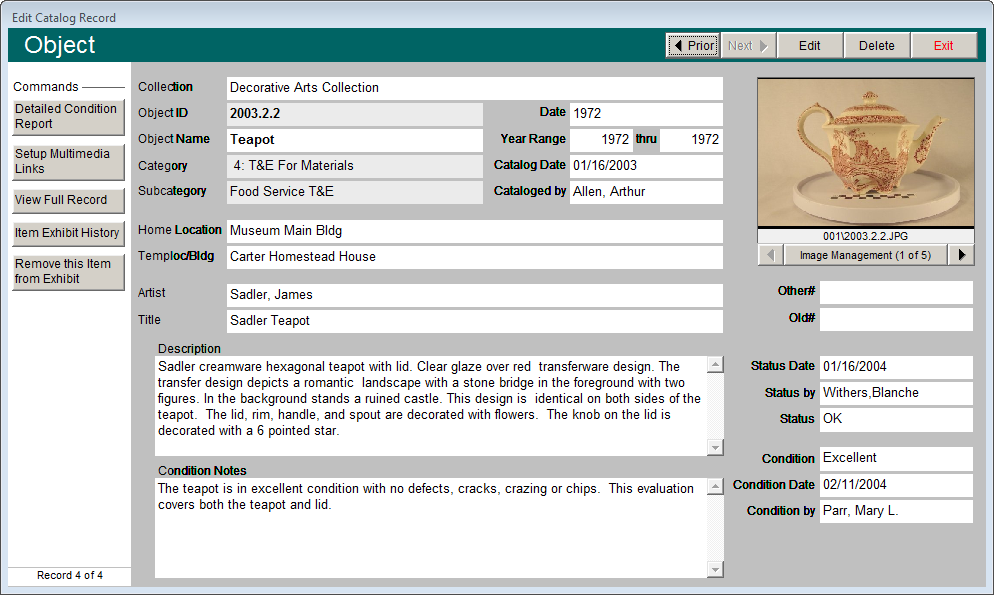
The buttons at the top of this screen let you browse the items on exhibit by clicking the Prior and Next buttons. Once you have located the item, you can edit its catalog record or delete the record from the exhibit. Delete should be used in the event that you have mistakenly added a wrong item to the exhibit. Deleted items will not be stored in the Returned Records screen view.
The buttons in the Commands section enable you to create or edit detailed condition reports, set up multimedia links, view the full record, view the item's exhibit history and remove the item from the exhibit.
Detailed Condition Report - You can create a detailed condition report for each item that is on exhibit by clicking the Detailed Condition Report button. If there are no detailed condition reports for this item, a blank condition report appears. If you have previously added a detailed condition report for this catalog record, that report appears and may be viewed, edited, deleted and printed. The navigation buttons at the bottom of the screen allow add, edit, spell check, delete, and print functions. See Chapter 6 - The Objects Catalog for detailed instructions on creating a condition report.
Setup Multimedia Links - With the MultiMedia Upgrade installed, you will be able to link MS-Word documents, MS-Excel spreadsheets, Adobe PDF files, Web pages, audio files, video clips, archival images, or any file your computer can open to the catalog record. The Setup Multimedia Links button opens the wizard to walk you through the steps. If a multimedia link has been set up, the button will say View Available Multimedia Links and will have a green data light.
View Full Record - This button takes you to the item's record in the Objects, Photos, Archives or Library catalog.
Item Exhibit History - You can view a list of past exhibits for this item.
Remove this Item from Exhibit- Click here to take this item off of the exhibit list. This is for items that have been in the exhibit but have been removed for some reason. A list of removed items will be stored and can be seen by clicking the Returned Records button on the main Exhibits screen under Screen View.
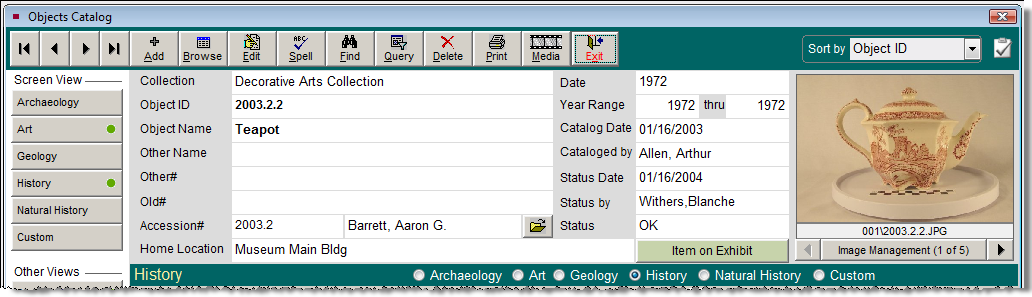
Once an item is placed on exhibit, a green data light appears on the Catalog Records screen view. In the item's respective catalog record, an "Item on Exhibit" flag appears just below the Status field. When an item is removed from the exhibit, it may be viewed in the Returned Records screen, the "Item on Exhibit" flag is removed and an exhibit history is started for the respective catalog record.
Item on Exhibit Flag in Catalog Record