Use this screen to view the contact history for the selected contact. The log is updated when a letter or mailing label is printed, an email is sent, or the contact is included in a list exported to Excel. You may also edit this field to add your own entries.
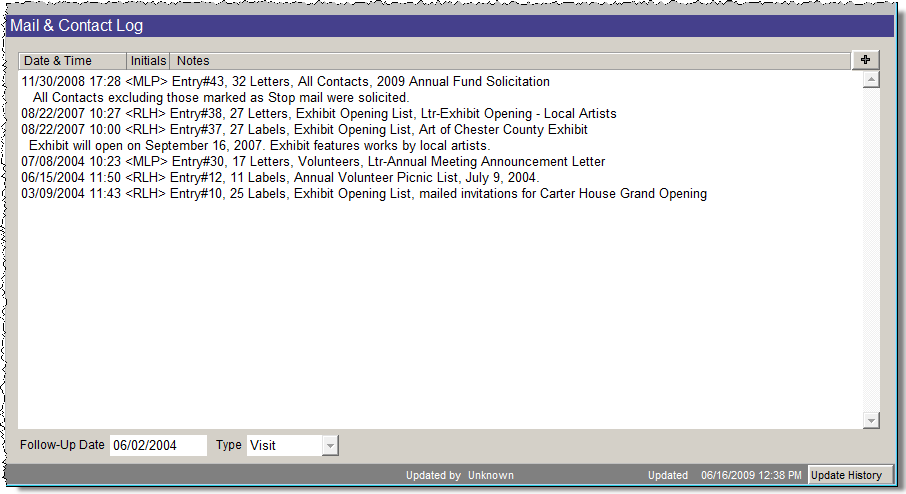
Mail & Contact Log Screen View
TIP: To make sure your mailings are included in the Mail & Contact Log, be sure to click Yes on the Add Entry to Mail & Contact Log screen which appears after you print a letter, label, or envelope, send an email, or export a list of contacts to Excel. If you do not click Yes to add the entry to the log, this screen will not be updated.
To add your own entry:
If you want to view the mailing log for all of your contacts, click the View Entire Mailing Log button under Actions. Here you can delete entries according to date, with the Mass Delete button or delete them one at a time.
To mass delete entries:
To delete an individual entry:
You may also print the entire log by clicking the Print button at the bottom of the screen. Click Exit to return to the Mail & Contact Log Screen View.
The bottom of this screen also gives you a field for Follow-Up Date and Type. If you want to schedule a time to contact this person again, enter that in the Follow-Up Date field. Enter the method of your follow up in the Type field. Contacts with a follow-up date and type will appear on the To Do List at the top right of the Contact screen.
Update History - Every time you add or edit a contact, an entry is automatically entered into the Update History log located at the bottom right corner of the Contacts screen. The window records the user name of the individual who modified the record and the date it was modified. The Updated by field is filled with the user name when PastPerfect Security is activated.