Composing Default Letters
Before composing any type of mail merge letter, you should set up a default letter, or make sure one has already been set up. The default letter acts as a template for all new letters, saving you time from having to insert the same information and fields on each new letter. The default letter will contain things like your institution's logo, footer information, signature lines, and mail merge fields for the recipient's name and address. These are items you want to have appear on every new letter.
To set up your default letters, click the Setup button on the Main Menu. For Contact letters, click the Contacts button. For Temporary Custody and Accession letters, click the Collections button.
Contacts Default Letters
When you click Contacts on the Setup menu, you will see the screen shown below.
Setup Contacts screen

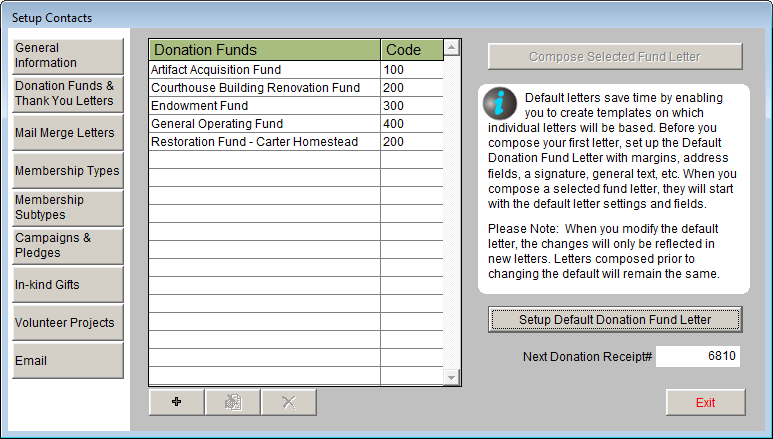
To create a default Donation Fund Thank You Letter, click the button Donation Funds & Thank You Letters on the Sidebar. These letters are sent out after posting a donation payment.
Donation Funds & Thank You Letters screen
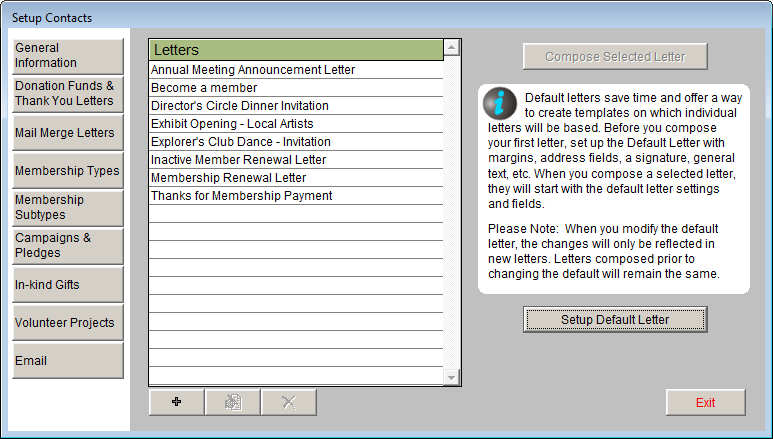
To create a default Mail Merge Letter, which includes membership letters and letters other than donation or pledge letters, click Mail Merge Letters on the Sidebar.
Mail Merge Letters screen
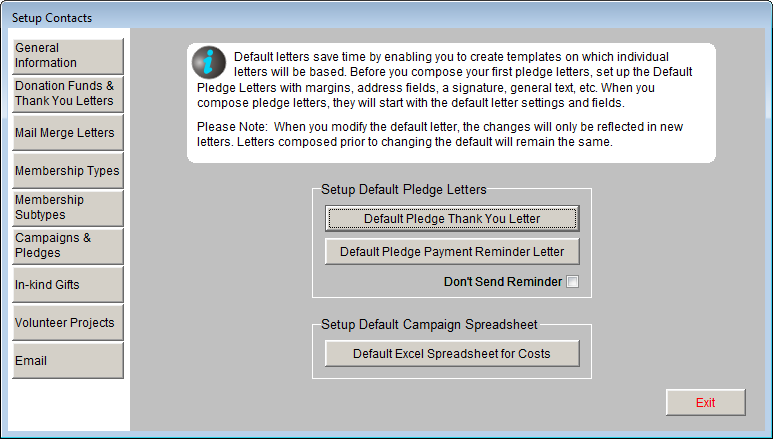
To create a default Pledge Thank You Letter or Pledge Payment Reminder Letter, click the Campaigns & Pledges button on the Sidebar.
Campaigns & Pledges screen
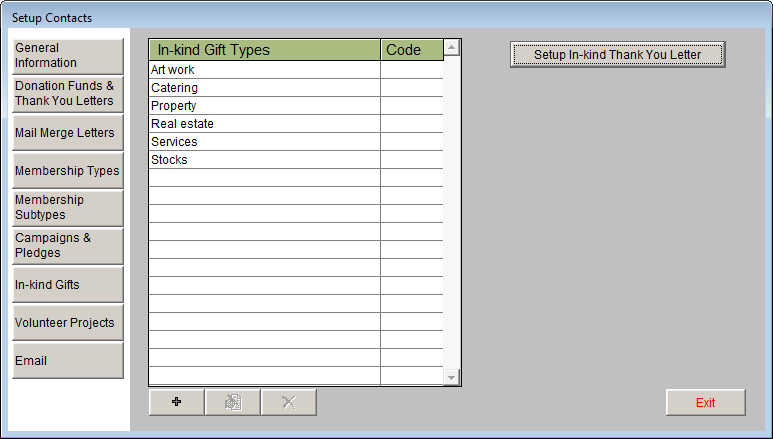
To create a default In-kind Gift Letter, click the In-kind Gifts button on the Sidebar.
In-kind Gifts screen
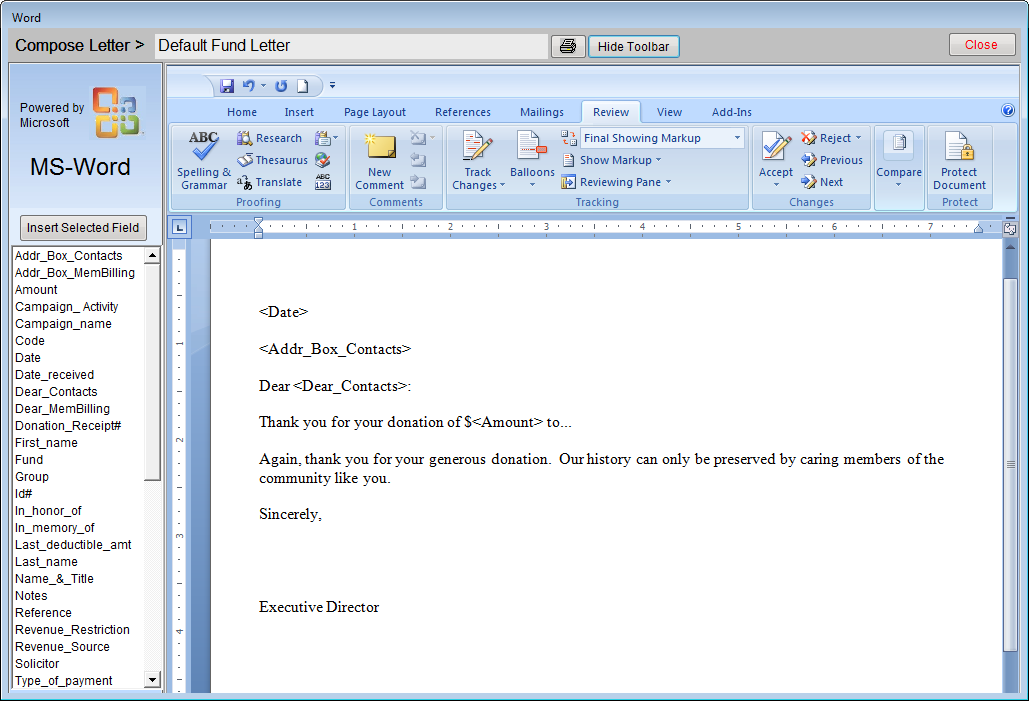
On any of the above screens, click the button for Setup Default Letter to open MS-Word. The letter that you set up here, with an example shown below, will be the template for all new letters added after you set up or change this letter. Changes will not be applied to existing letters.
Compose Letter - Default Fund Letter

The MS-Word screen that appears is similar to the MS-Word program that you would use outside of PastPerfect, with all the same functions. It also has a few additional functions. The top of the screen will tell you which letter you are viewing and composing. Next to the letter name is a printer icon, which will print the letter as it is, without specific data in the mail merge fields. To the right of the printer icon is a button for Hide Toolbar, which will remove the MS-Word toolbar from the screen, so you just see the text of your letter. To bring the toolbar back, click the View Toolbar button where the Hide Toolbar button had been.
Inserting Fields
On the left side of the screen is a list of the fields that you can insert into the letter. These are the fields that will merge data from the records into the letter. To insert a field, place your cursor in the letter where you want the new field. Next, single click on the field name, then click the Insert Selected Field button. The field will appear on your letter in angle brackets < >. Do not remove these brackets, or change the text inside them. If you do, data will not be merged into that field.
Using MS-Word Tools
Since PastPerfect uses Microsoft Word, you have access to all of the tools that MS-Word offers in your letters. The guide below explains some common tools in Word 2007. Earlier versions of Word may have tools that appear or function differently. For more detailed information about using MS-Word, please refer to the Help function within MS-Word.
 Copy - Highlight text, then click this button to copy it to the virtual clipboard. You may copy text from your letter and paste it into another program.
 Paste - Click where you want to insert text or graphics, then click this button. The last text or graphic that was copied to the virtual clipboard will appear here. You may paste text or graphics from another document or program into your letter.
 Change Font - Highlight the text you want to change, then use the drop-down menu to see the list of available fonts. Click on a font to change the highlighted text.
 Change Font Size - Highlight the text you want to change, then use the drop-down menu to see the list of available font sizes. Click on a size to change the highlighted text.
 Change Font Color - Highlight the text you want to change, then click this button to see the available colors. Click on a color to change the highlighted text.
 Bold, Italics, Underline - Highlight the text you want to modify, then click the B button to make it bold, click the I button to italicize it, or click the U button to underline it. All three attributes may be applied to the same text.
 Text Alignment - Place your cursor at the beginning of a line, or highlight text. Click the Left Align, Center, Right Align, or Justify buttons to change text alignment.
 Insert Bulleted List - Click where you want to begin the bulleted list, then click this button to insert a bullet. To continue with the list on the next line, press Enter on the keyboard. To change the bullet types, click the drop-down arrow next to the bullet list icon.
 Insert Numbered List - Click where you want to begin the numbered list, then click this button to insert the first number. To continue with the list on the next line, press Enter on the keyboard. To change the numbering types, click the drop-down arrow next to the numbered list icon.
 Change Margins - Click this button to see options for changing the page margins from the Page Layout tab.
 Change Paper Size - Click this button to choose a different size paper for your letter. This option is also in Page Layout.
 Insert Header - Click Insert, then the Header button to choose a header style. The header will be placed on your page and you will be prompted to enter text for the header. You may insert images into the header as well. The header will appear on each page of your letter.
 Insert Footer - Click this button to choose a footer style to insert. The footer will be placed on your page and you will be prompted to enter text. You may insert images as well. For multiple page letters, the footer will appear on each page of your letter.
 Insert Picture - To insert a logo or signature on your letter, click this button. Navigate to the location where the image is stored, then use the Link to File option to insert your image. The image will be placed on the letter.
 Spell Check - Choose the Review tab to use MS-Word's spelling and grammar check function.
 Undo - To undo the last action performed, click this button. You may click it repeatedly to undo multiple actions. This arrow button appears above the Home tab.
Example Default Donation Fund Thank You Letter
Next, let's look at an example of a default letter. Let's say you want to create a default Donation Fund Thank You Letter. This will be the basis for all of the Donation Fund Thank You Letters for all the Donation Funds that you add later.
From the Main Menu, click the Setup button, then click the Contacts button to open the Setup Contacts screen. Click the Donation Funds & Thank You Letters button. Before adding any new funds, click the button for Setup Default Donation Fund Letter. This will open MS-Word.
Compose Letter - Default Fund Letter
First, add your museum's logo to the top of the page. If you do not want it to appear on all pages, do not put it in the header. Click on the top line of the letter, then in the MS-Word Toolbar, go to Insert Picture.
MS-Word Insert Picture screen
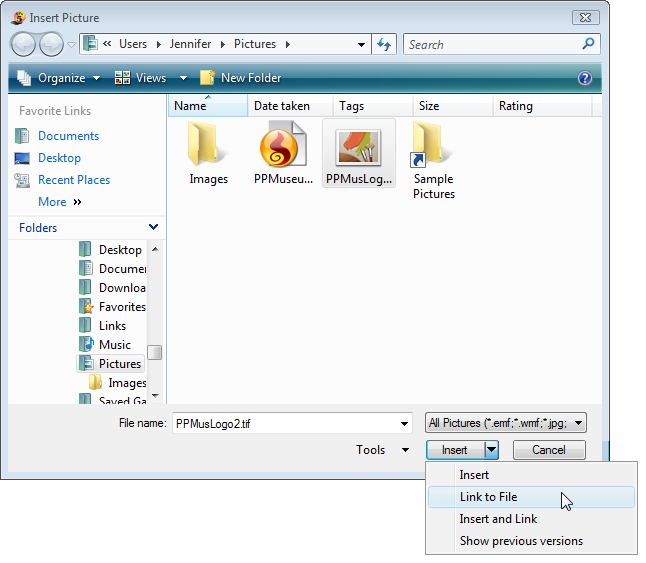
Navigate to the image saved on the hard drive (or other drive), then click on the image. Click the arrow next to insert and click Link to File. The image will appear on the screen.
IMPORTANT: Use Link to File and not insert to avoid problems with the size of your letters and your backup file.
Default Fund Letter with logo

You may use MS-Word's Picture Tools to resize and move the image. Center the image on the top of the page, as above.
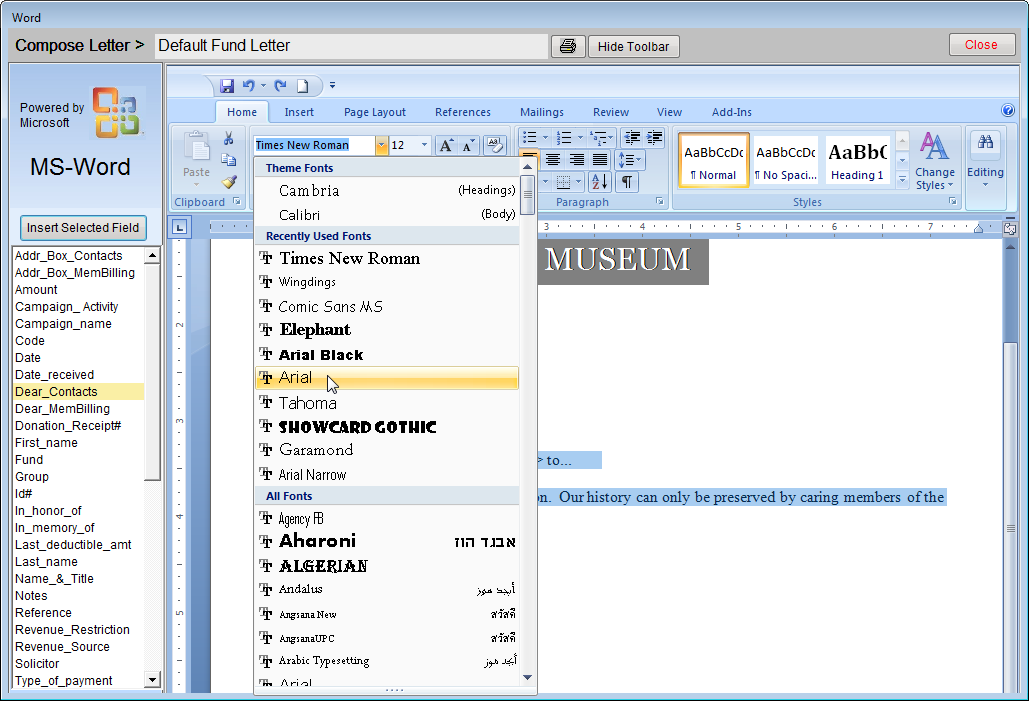
Some fields are already inserted in the letter, such as the date, a field called Addr_Box_Contacts which contains the contact name & title, company and address information, and the Dear_Contacts line which is the Dear name. These fields will merge the date the letter is printed, the name, company and address of the recipient, and the Dear formal or Dear casual name of the recipient. Let's say you want to change the font of this text, and the rest of the text in the letter. Highlight all the text on the screen, then go to the Font list in the MS-Word Tools and choose a different font. For this example, choose Arial.
Default Fund Letter, choose font
Next, add a few lines of text that will appear on all donation thank you letters. To enter this text, click once in the body of the letter to move the cursor to the appropriate area, and then start typing. To have the amount of the donation automatically included on the letter, select the Amount field name on the left, then click the Insert Selected Field button. Add the appropriate currency symbol (such as the $ symbol) before or after the inserted field. This symbol will need to be outside of the angle brackets.
Default Fund Letter with text in Arial
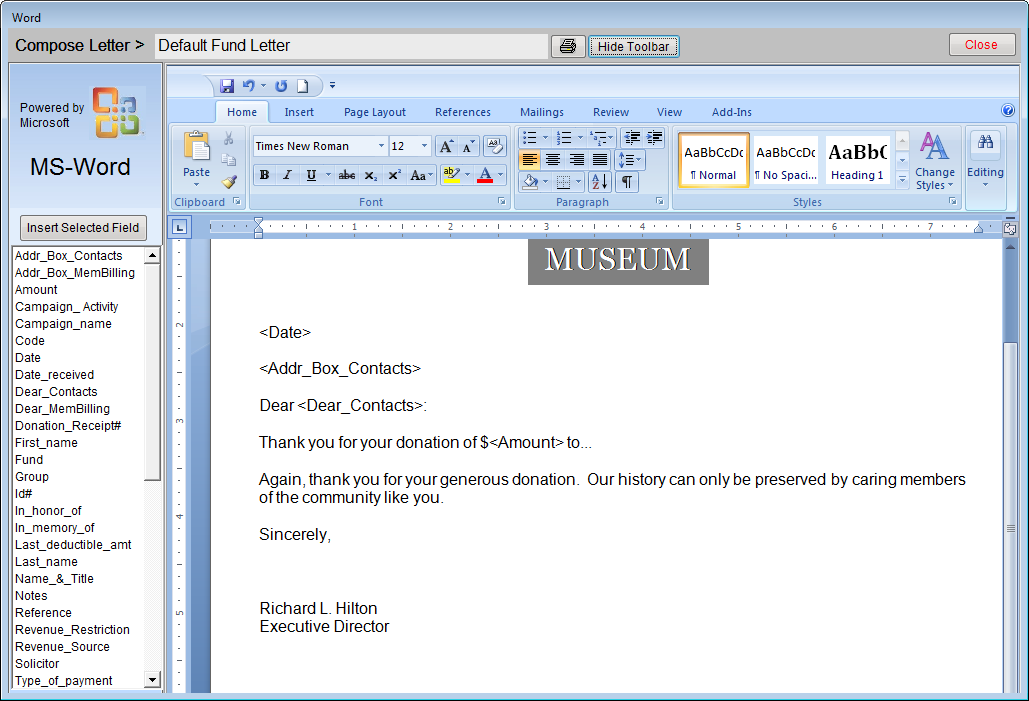
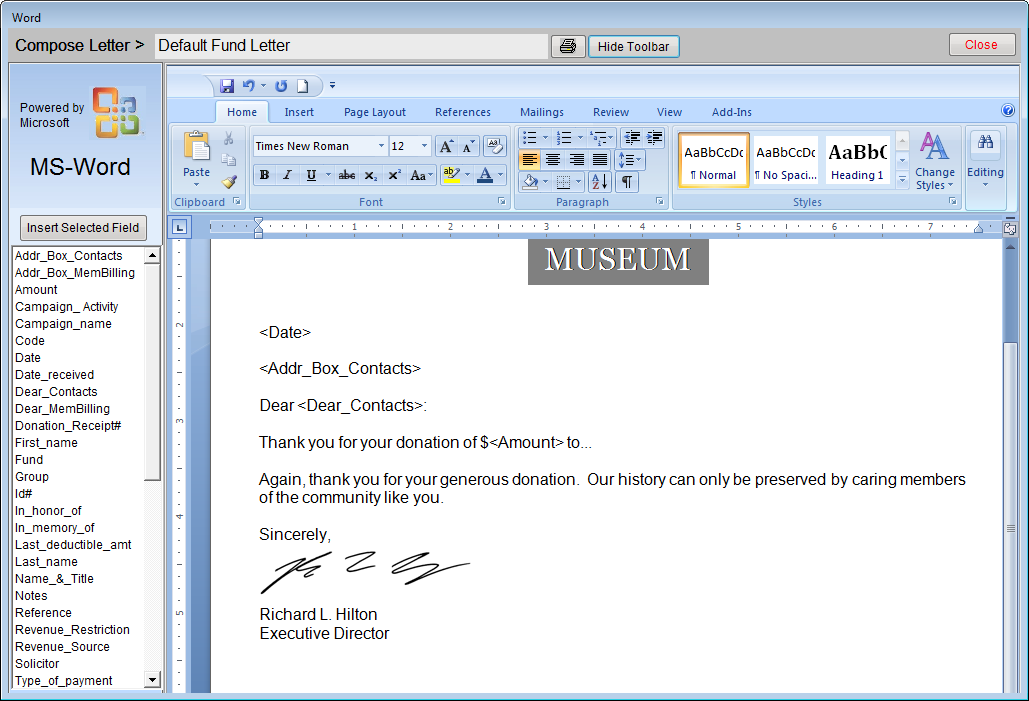
Finish the letter with your signature lines. Let's say you have the signature of your director as an image file. You can insert this image on the letter so the director doesn't have to sign each letter. Again use the Insert Picture and Link to File option in the MS-Word Toolbar to insert the signature image. Move and resize the signature using the MS-Word Picture Tools so it is lined up on the left. Your letter should look like the letter above.
Once the letter is ready, click Close at the top, then click Yes to save the changes. You are ready to add Donation Funds and compose your Donation Fund Letters, which will use this letter as the template.
Default Fund Letter with signature
Collections Default Letters
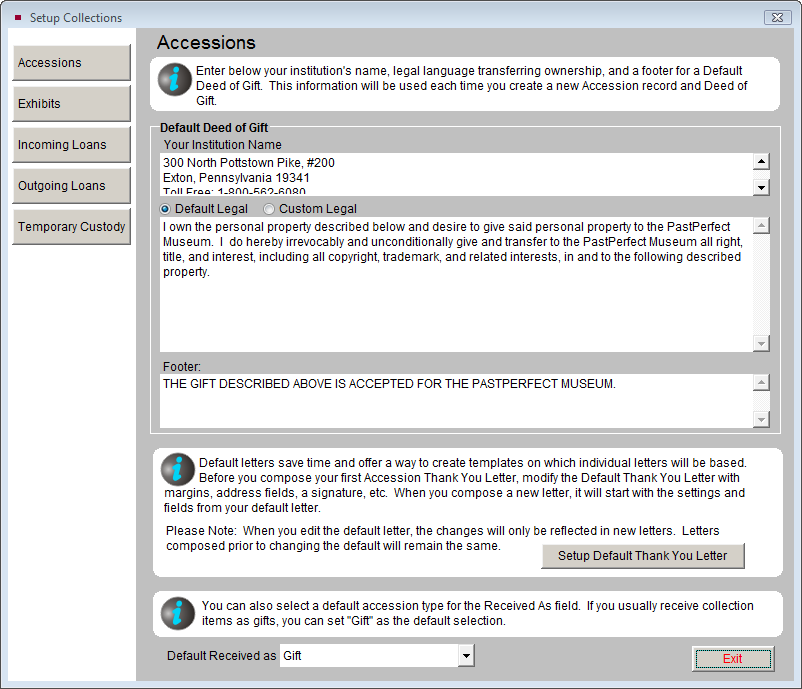
When you click Collections on the Setup menu, you will see the screen shown below. This screen will default to showing the Accessions screen view.
To create a default Accession Thank You Letter, click the Setup Default Thank You Letter button. These letters are usually sent to donors with the Deed of Gift.
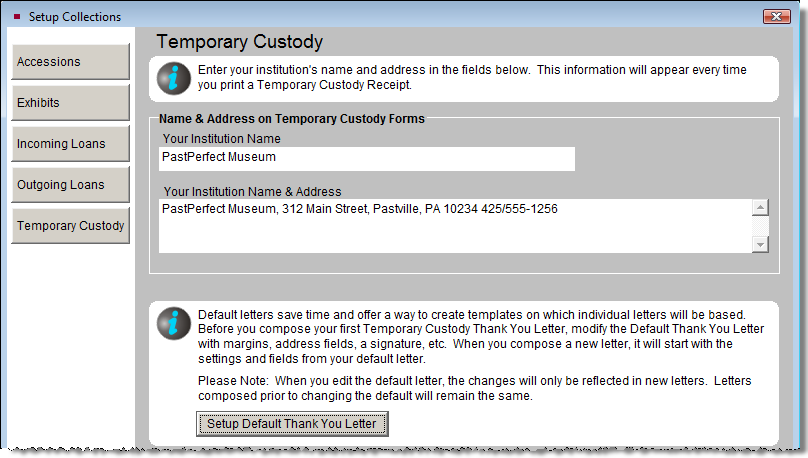
To create a default Temporary Custody Thank You letter, click the button Temporary Custody, then click the button for Setup Default Thank You Letter. These letters are sent after receiving items that you entered in Temporary Custody.
Setup Collections, Accessions Screen View
Setup Collections, Temporary Custody Screen View
On either screen, click the Setup Default Thank You Letter button to open MS-Word. The letter that you set up here will be the template for all new letters added after you set up or change this letter. Changes will not be applied to existing letters.
Collections default letters are similar to Contacts default letters, with one exception. In Temporary Custody and Accessions, it is possible to record up to four separate donors on an individual accession or temporary custody receipt. The Accessions and Temporary Custody Default Letter screens enable you to create four separate default thank you letters, one for each donor. You can switch between the letters by clicking on the Donor # buttons on the Sidebar. Be sure to use the correct donor fields when inserting fields. For example, on the Donor #2 Letter, use the name, address, and phone number fields with the "_donor2" at the end.
Default Thank You Letter for Donor #2
