Creating and Managing Campaigns
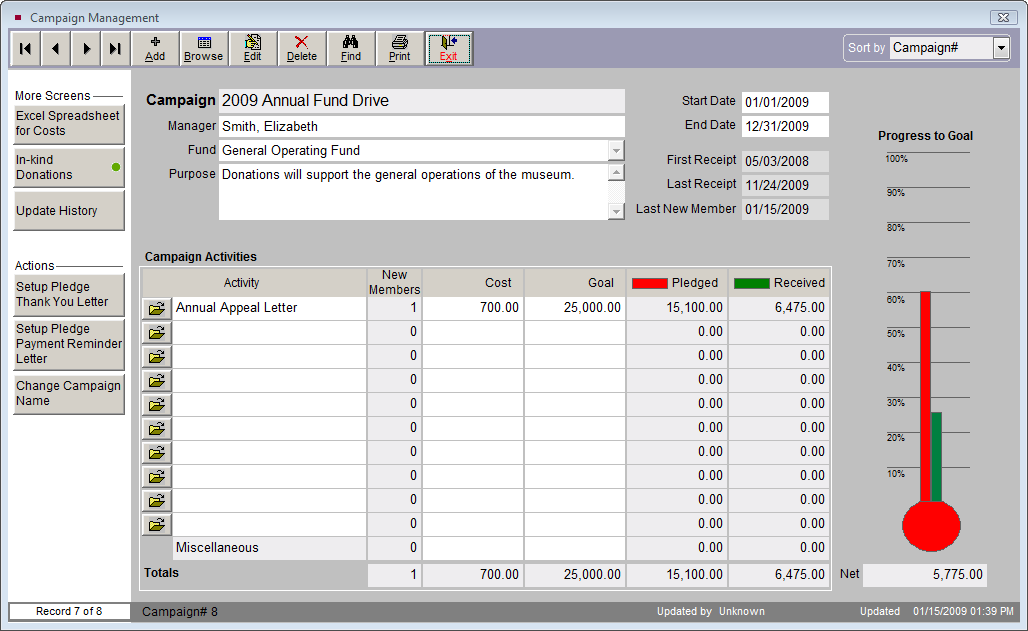
Planning and executing fundraising campaigns is important to the survival of most museums and historical organizations. Once you have created your database of contacts, you will have gathered all the necessary information that can help you identify your key supporters and turn your contacts, volunteers and members into prospective donors. To access the Campaign Management screen, click Campaigns on PastPerfect's Main Menu. You will see the screen shown below.
The top of the Campaign Management screen has fields to record the campaign name, manager, the associated fund, the purpose of the campaign, and the start and end dates.
To create a new campaign, click the Add button in the Navigation Bar. You are required to fill in the Campaign field and the Start and End dates. If you use the same campaign name each year, such as Capital Campaign, we suggest adding the year to the name of the campaign, such as Capital Campaign 2009, to distinguish campaigns through the years.
TIP: The campaign will be set as an Active Campaign as long as today's date falls in between the Start and End Dates. The campaign must be active to be available on the Enter a New Pledge Receipt or Enter Donation Receipt screen. Once the End Date has passed, the campaign will become a Past Campaign and will have a green Past Campaign flag at the top of the record.
Campaign Management screen
The Manager field is controlled by the Users authority file. To access the authority file, right click in the field or press F7 on the keyboard. The Users authority file may be edited by going to the Main Menu | Setup | Authority Files | Common Screens | Users.
You may choose a Fund that will act as the default fund when entering a donation or pledge towards this campaign. If some donations should be credited toward a different fund, you may select that fund when entering the pledge or donation. You are not locked into using the fund chosen on this screen.
The Purpose field may be used to enter a description of the goals of this campaign.
There are three more date fields for First Receipt, Last Receipt and Last New Member that will be filled in automatically when donations are received or new memberships are added as a result of the campaign.
The lower part of the screen has information about campaign activities.
Campaign Activities
After creating the Campaign, you may want to generate a list of solicitation activities for your fundraising campaign. These can be any type of activity, from a mailing to a fancy dress ball, that your institution is using to raise money for this campaign. You can enter an activity name by clicking in the Activity field while in Add Mode or Edit Mode. If you wish to enter details about the Activity, click the file folder icon to the left of the name. The New Members field will be automatically filled in with the count of members who joined as a result of the campaign. When entering a new membership, be sure to choose the campaign and activity so that PastPerfect can fill in this field.
Next, in the Cost field, enter the amount for how much the activity will cost your institution to hold. In the Goal field, enter the amount for how much you hope to earn from this activity. The Pledged and Received fields are updated automatically when you enter a pledge or donation payment from either the Contacts screen or the Pledges & Receipts screen. You must be sure to choose the campaign and activity on the pledge or donation screen when entering it.
If no activity is chosen when posting a pledge, donation or new membership to this campaign, the transaction will be recorded under the Miscellaneous activity at the bottom of the screen.
Campaign Goals
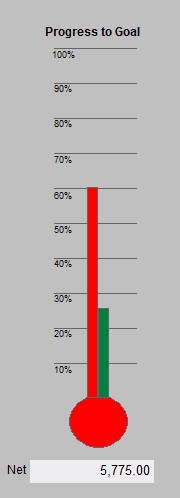
The Progress to Goal thermometer on the right side of the screen is automatically generated from information you enter on this Campaign Management screen, as well as the pledge and donation amounts you receive. The sum of the Goal fields determines the overall goal of your campaign. As pledges are entered, the red bar will move up on the thermometer. As donations are entered, the green bar will move up on the thermometer. Once your pledges and donations match or exceed the goal amount, the red and green bars will reach the top. At the bottom is the calculation of the Net amount. This is the amount of donations you have received, minus the sum of the costs you entered for the activities.
Progress to Goal
More Screens
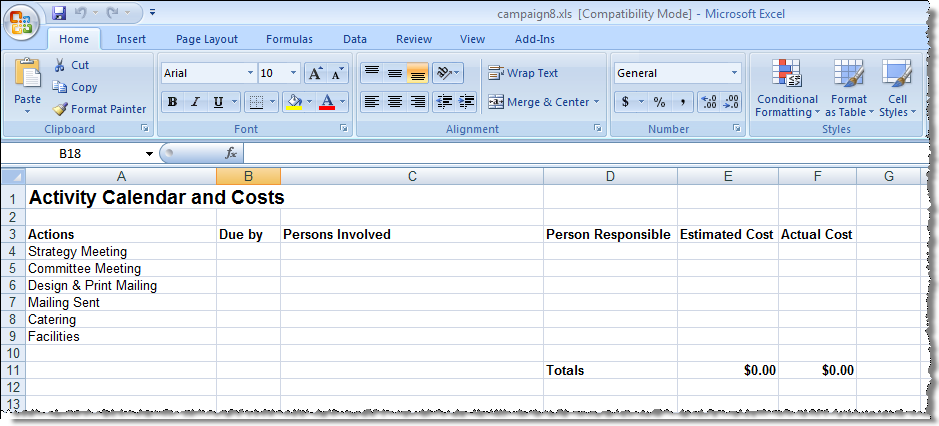
Three options are available under More Screens. The first option, Excel Spreadsheet for Costs, gives you access to an Excel spreadsheet that you can customize to track accounting and other information about each activity, seen below. If your PastPerfect system is equipped with the optional MultiMedia Upgrade and you have MS-Excel, you may click this button to view the Excel spreadsheet. The default for this spreadsheet is set up under the Main Menu | Setup | Contacts | Campaigns & Pledges | Default Excel Spreadsheet for Costs.
Excel Spreadsheet for a Campaign
The In-kind Donations button will open another screen that shows a list of all the in-kind gifts that have been received as part of this campaign.
Update History will show you the date, time, and user name for each time the campaign record was updated.
Actions
Setup Pledge Thank You Letter - You may modify this letter for this specific campaign. This letter is sent from the Enter a New Pledge screen when posting a pledge, or the Pledge Detail screen after a pledge is posted, thanking the contact. The Default Pledge Thank You Letter should be created first by going to the Main Menu | Setup | Contacts | Campaigns & Pledges | Default Pledge Thank You Letter.
Setup Pledge Payment Reminder Letter - You may modify this letter for this specific campaign. This letter is sent from the Enter a New Pledge screen when posting a pledge, or the Pledge Detail screen when a pledge payment is coming up. It reminds the contact of the payment due. The Default Pledge Payment Reminder Letter should be created first by going to the Main Menu | Setup | Contacts | Campaigns & Pledges | Default Pledge Payment Reminder Letter.
Change Campaign Name - The name of the campaign may be changed before you post any pledges or donations using this campaign name, and before any memberships are created with this campaign name. If you change the name after you have entered pledges, donations or memberships to this campaign, you will need to manually change the campaign name on each pledge, donation, and membership. Click this button to enter the new campaign name.
Print - The Print button in the Navigation Bar of the Campaign Management screen allows you print information about: This Campaign, All Campaigns, Current Campaigns, and Past Campaigns. The printed report will contain the campaign name, dates, manager, number of new members, cost, goal, pledges, donations received, and net amounts for all activities. You can also print the members, cost, goal, pledged, received, and net amounts for each activity by selecting the Include Details box.
TIP: If you need a report that shows each donation, in-kind gift, or membership posted to a specific campaign, use the Donations, Dues & In-kind Gifts report. This report may be run for one campaign at a time, and for all activities or just one activity at a time. The report is run by going to the Main Menu | Reports | Dues & Donations.