Designing a Virtual Exhibit
Once the exhibit information has be completed, catalog records chosen and data fields selected, you can begin making choices for how the Web pages will look on your Virtual Exhibit site. Your Virtual Exhibit website has three levels of pages - a List of Exhibits page, an Exhibit Page that is the home page for each exhibit, and Catalog Record pages.
Using Exhibit Page Layout Options
From the List of Exhibits page, the Web visitor can select an exhibit. The Exhibit Page that appears contains at least one image, exhibit title, subtitle, and the exhibit's full description. To select the layout for this page, click Exhibit Page Layout Options in the Sidebar.
Exhibit Page Layout Options

This screen will display the layout options. To choose an option, click Edit from the Navigation Bar, then click the radio button next to the option you want. Then click Save. If you would like to modify the layout further by modifying the CSS, click the View or Change Selected Layout Cascading Style Sheet button. Please note that changes made to the CSS are permanent and the CSS cannot be reset to the default.
NOTE: Your CSS pages may be modified outside of Virtual Exhibit. If you have a web designer customizing your website for you, it may be easier for the designer to work with the CSS pages directly. The CSS pages are stored in the c:\virtual_exhibit folder. If the CSS pages are modified outside of PastPerfect, you must uncheck the box for "Build Cascading Style Sheets" when you build the HTML, or the modified pages will be overwritten.
Using Catalog Record Page Layout Options
The Catalog Record Page contains the data fields and images chosen from this item's PastPerfect catalog record as well as the Custom HTML and VE Exhibit Label fields. To select the layout for this page, click Catalog Record Page Layout Options in the Sidebar.
Catalog Page Layout Options
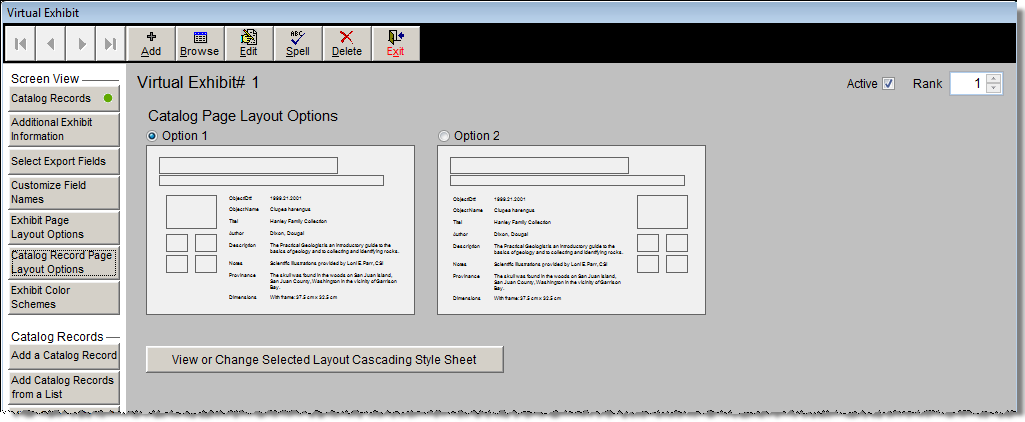
This screen will display the layout options. To choose an option, click Edit from the Navigation Bar, then click the radio button next to the option you want. Then click Save. If you would like to modify the layout further by modifying the CSS, click the View or Change Selected Layout Cascading Style Sheet button. Please note that changes made to the CSS are permanent and the CSS cannot be reset to the default.
TIP: To see what your website will look like after making design changes, you can build the HTML and view the website on your computer, using those options under Actions in the Sidebar. Doing this will not affect your "live" website. By periodically viewing the website during the design process, you can verify that your color scheme is consistent and legible, and that your images and text look pleasing on the page.
Exhibit Color Schemes
In addition to choosing the layout for your website, you can choose the color scheme. You can choose colors that match your institution's own website, or you can choose colors that go with the theme of your exhibit. The color scheme you choose will apply to both the Exhibit Page and Catalog Record Pages. To select your color scheme, click Exhibit Color Schemes in the Sidebar.
Catalog Record Page Layout Options
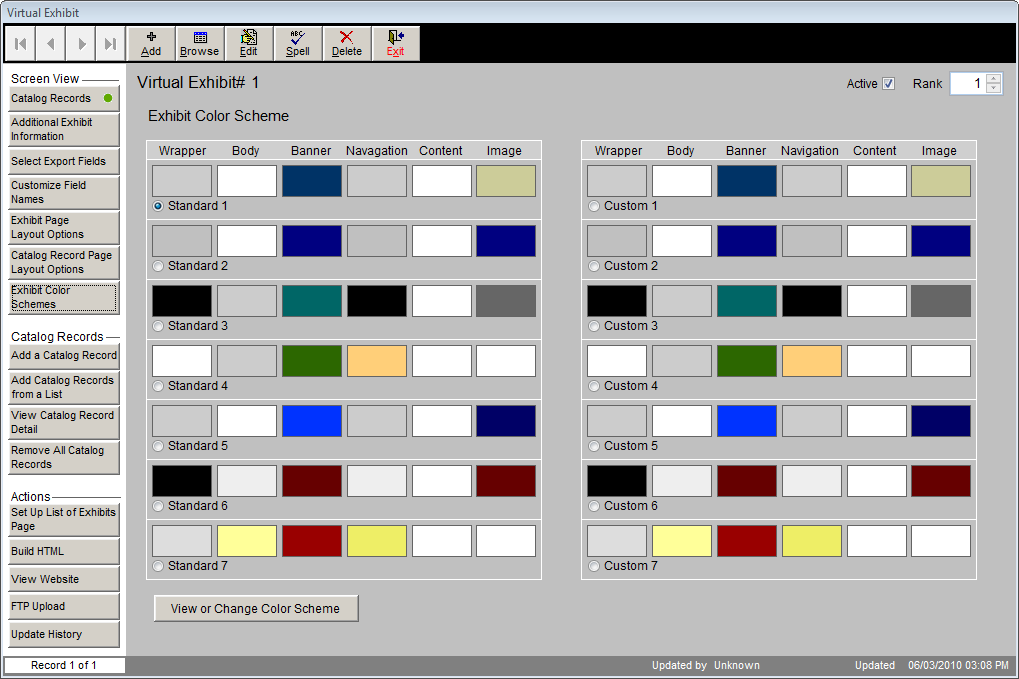
This screen has two sets of color schemes. The set on the left are the standard schemes, which are always available. The set on the right are custom schemes, which you can modify to include the specific colors you want. To select a color scheme, click Edit in the Navigation Bar and click the radio button next to the option you want, then click Save.
If you want to see a preview of the color schemes, click View or Change Color Scheme.
Use the arrow buttons at the bottom right to scroll through the different color schemes. The first seven schemes are the standard schemes. The next seven are the custom schemes. When you find a scheme you like, click the Select button to choose it.
If you would like to modify one of the color schemes, use the arrow buttons to navigate to one of the custom schemes, then click the Edit button at the bottom of the screen. Use the Example Page diagram to help you see how the different elements will look when the colors have changed. To change the color for a particular element of the website, click the color palette to the right of the section. The Select Color screen will appear, seen below, where you can change the color.
Select Color
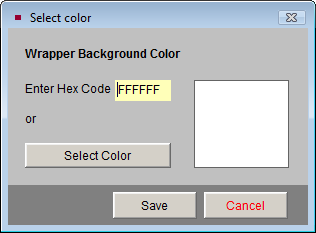
You have the option to enter the Hex Code (Hexadecimal Code) for the color, which is the recommended way to get a specific color. You may also click the Select Color button to get a color palette where you can click on the color you want. Not all colors are available on the color palette. The selected color will preview on the right. Click Save to choose the color.
The diagram on the right will change to reflect your new color choice. Once you have adjusted your custom color scheme to your liking, you can enter a name for it at the top, under Custom Name. This custom color scheme will be available for all your Virtual Exhibits. Click Save to save your new color scheme.
Setting Up the List of Exhibits Page
The first screen in your Virtual Exhibit website is a page that lists all of your active exhibits. If you only create one exhibit at a time, that one exhibit will be listed. However, you have the option to create as many exhibits as you want and put them all online at the same time. The List of Exhibits Page is the directory for your exhibits. It gives the title and subtitle of the exhibit, displays the exhibit page image, and gives the first few lines of the exhibit description.
This List of Exhibits Page is modified by clicking Set Up List of Exhibits Page under Actions in the Sidebar.
Exhibit Page Layout Options
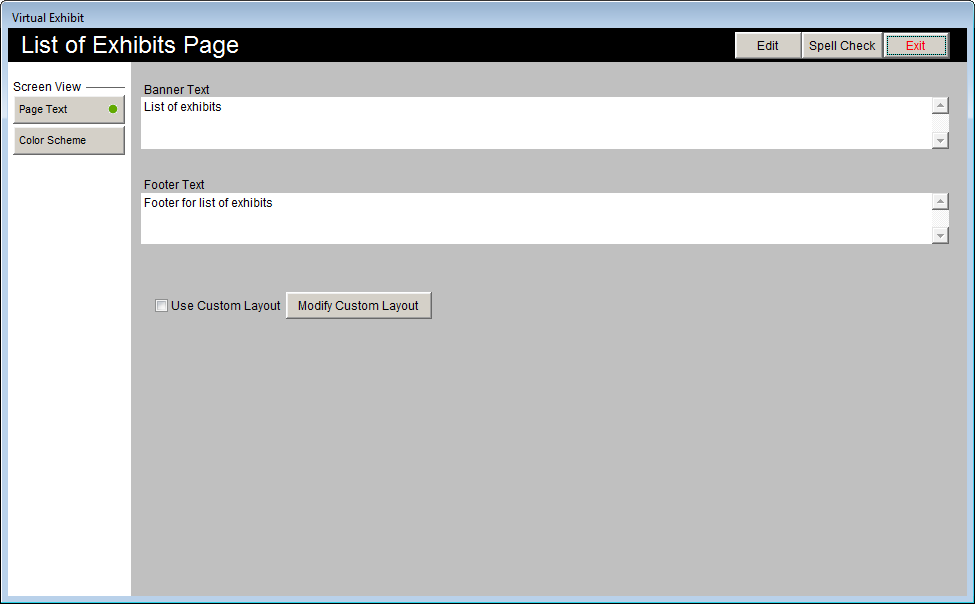
On the screen shown above you may enter banner and footer text for this page by clicking Edit at the top of the screen and typing in the text you want to use. Click Save to save your changes. You may customize the layout of the page by modifying the CSS for the page. Click Modify Custom Layout to open the CSS page to modify. To use your modified layout, click Edit at the top, then check the box next to Use Custom Layout. Please note that changes made to the CSS are permanent and the CSS cannot be reset to the default. Click Save to save your changes.
To change the color scheme for this page, click the Color Scheme button under Page View in the Sidebar. Click Edit, then click the radio button next to the color scheme you want to use. Click Save to save your selection. You may set up custom color schemes on this screen in the same way as described in the Exhibit Color Schemes section. When you are finished setting up your List of Exhibits Page, click Exit to return to the main exhibit screen.