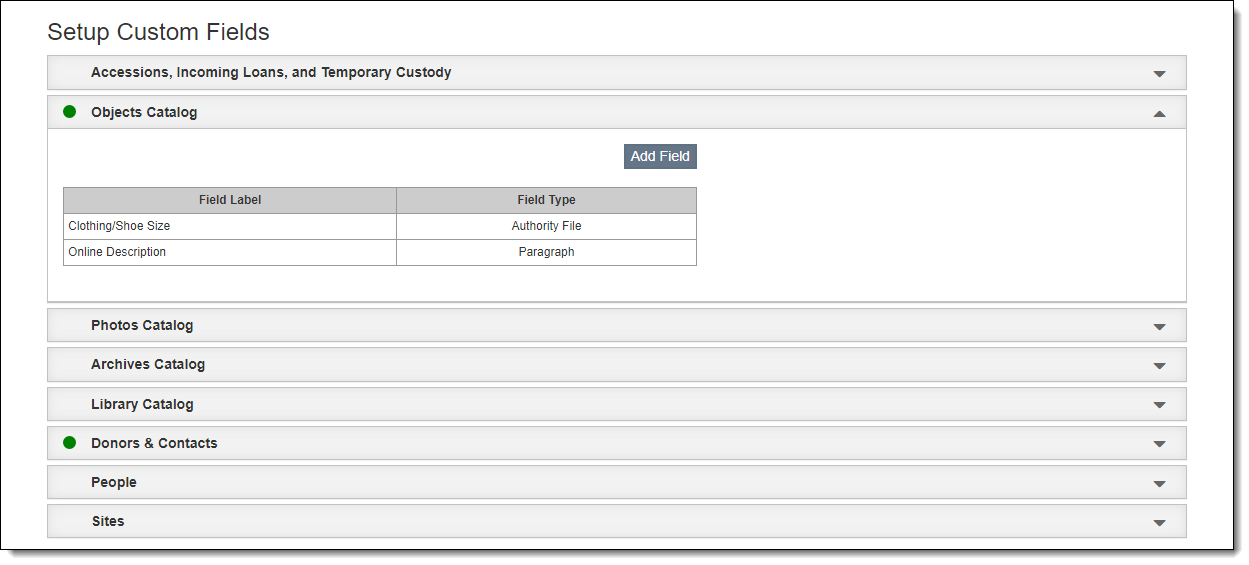
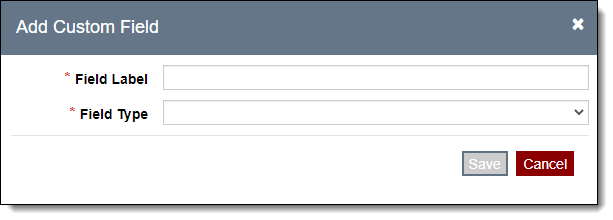
Even though PastPerfect comes with hundreds of data fields for describing your collection and tracking your contacts, there may be some information your institution wants to record that does not fit in existing fields. Custom fields give you the ability to add the fields you need.
| Text |
May contain alphanumeric data as well as punctuation and spaces. Displays as a single line on the record pages. |
| Paragraph | May contain an unlimited amount of alphanumeric data as well as punctuation and spaces. Displays multiple lines and a scroll bar on the record pages. |
| Integer | May contain any whole number (no punctuation). |
| Currency | May contain numbers with two decimal places. |
| Floating Number | May contain numbers with many decimal places. |
| Date | May contain a date in the following format: mm/dd/yyyy. |
| Authority File | Requires the authority file to be accessed in order to populate the field. |
| HTML | May contain valid HTML text and will appear as embedded HTML when not in Edit mode. Will also appear as embedded HTML in Public Access. |
Note: If you delete a custom field, any data in that field will also be lost. We recommend running a query to be sure the field is empty before deleting a custom field.