Adding Catalog Records to Outgoing Loan
Adding catalog records to an outgoing loan can be done in multiple ways:
from the catalog record screen, from the outgoing loan record screen,
from the Catalog Query screen, and from Catalog Lists. Each catalog record
can only be on one outgoing loan at a time.
Add Catalog Record to an Outgoing Loan from the Catalog Screen
- Locate the catalog record you wish to add to the loan
- Click "Edit" in the Edit Bar at the top of the catalog
record
- Click the Location Accordion bar to expand it
- Click "Put on Loan"

- Click on the outgoing loan to which you want to add this record
- Click "Yes" to confirm
- Click "Save" in the Edit Bar at the top of the catalog
record
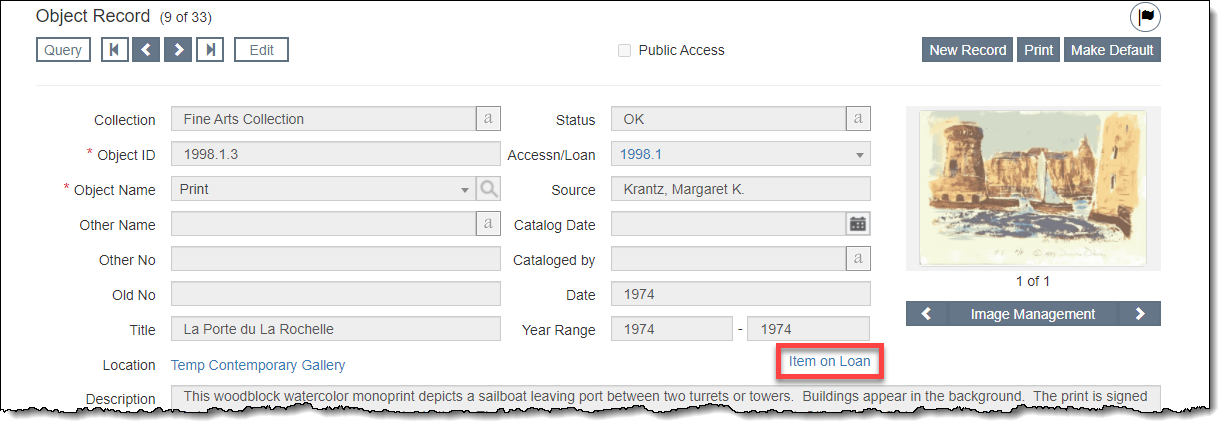
Catalog records on a loan will display an "Item on Loan" hyperlink
in the top section of the catalog screen. Clicking the hyperlink will
take you to the Outgoing Loan record.
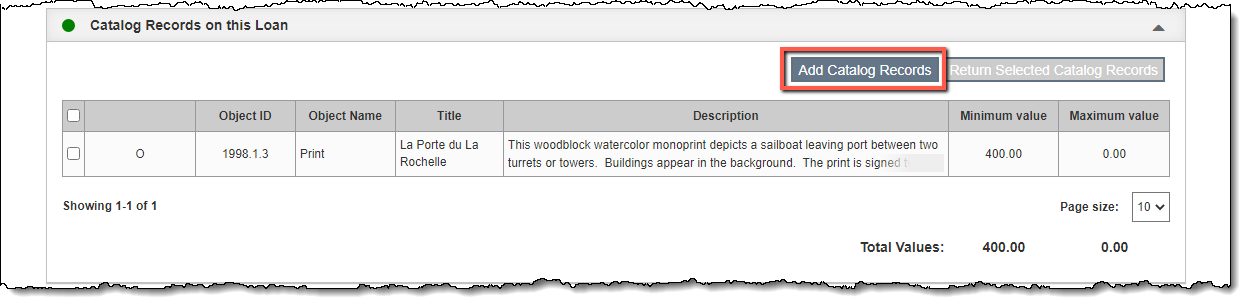
Add Catalog Record to an Outgoing Loan from an Outgoing Loan Screen
- Click "Edit" in the Edit Bar on the Outgoing Loan record
- Click the Catalog Records on this Loan Accordion bar to expand
it
- Click "Add Catalog Records"
- Browse or search to locate the record(s) you want to add:
- Browse using the page buttons at the bottom of the pop-up window.
Records can be sorted by clicking on a column header. Using
the check boxes to the left, select the record(s) and click "Add
All Checked Records."
- Use the Search box to search for the record(s) by Object Name
or Object ID. Once the filtered list is showing only the desired
record(s), click "Add All Records Selected by Filter."
- Only records that are not on another current outgoing loan
will be available to select.
- Click "Save" in the Edit Bar at the top of the screen.
The catalog record(s) will now appear under the Catalog Records
on this Loan Accordion.
Add Catalog Record to an Outgoing Loan from a Query Screen
- Filter or Search for the catalog record(s) you want to add to the
outgoing loan
- Select the record(s) using the check boxes in the Browse Grid
- Click "Put on Loan"
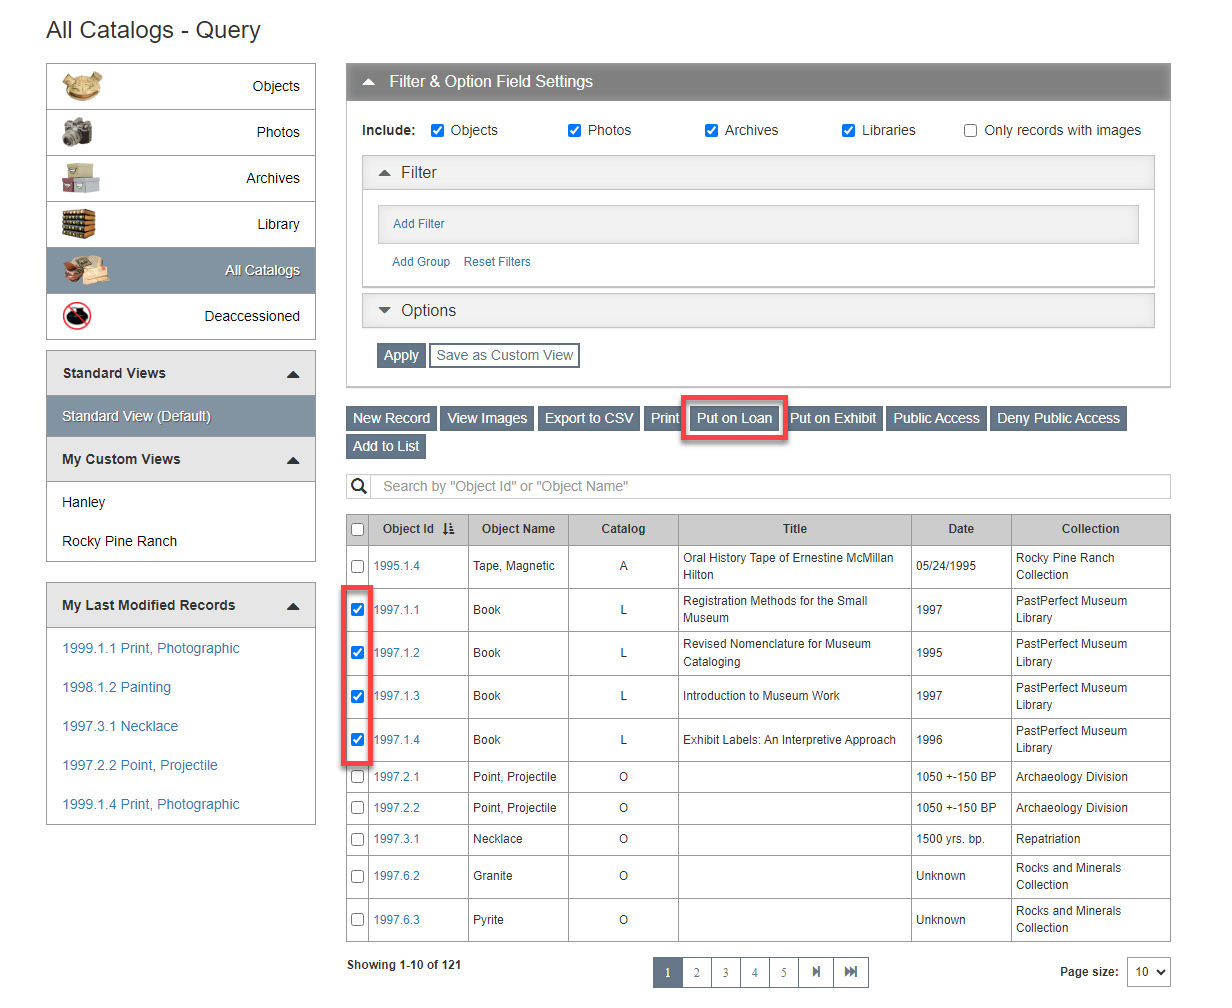
- Click on the outgoing loan to which you want to add the records
- Click "Yes" to confirm
- Any catalog records not on another outgoing loan will be added
to the selected outgoing loan.
Add Catalog Record to an Outgoing Loan from a Catalog List
- Click the list name containing the records you want to add to the
outgoing loan
- Click "Edit" in the Edit Bar at the top of the Individual
List screen
- Click "Put on Loan"
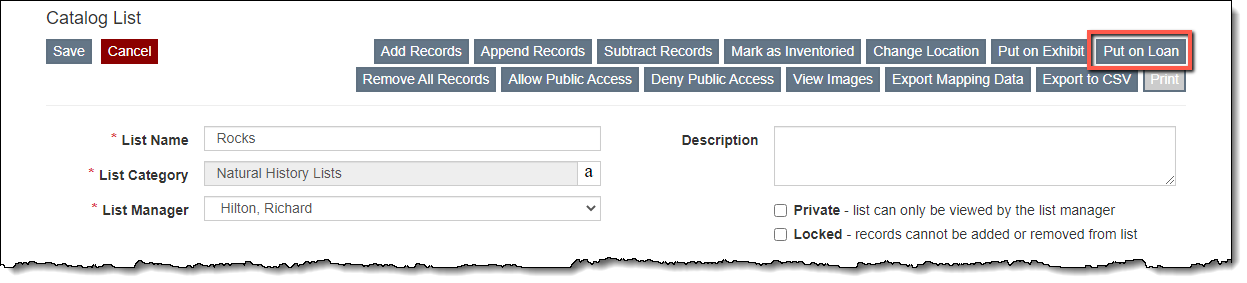
- Click on the outgoing loan to which you want to add these records
- Click "Yes" to confirm
- Click "Save" in the Edit Bar at the top of the Individual
List screen
- Any catalog records not on another outgoing loan will be added
to the selected outgoing loan.