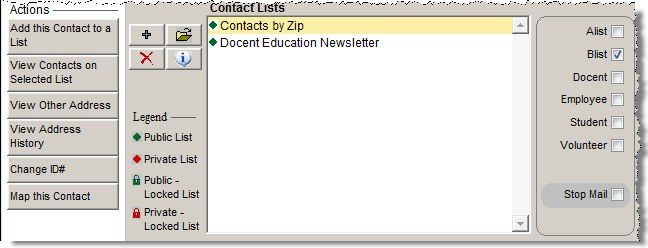
This section of the screen displays the names of the Contact Lists to which this person has been added. You may also add the contact to lists, remove the contact from lists, view more information about lists and administer lists from this screen. Placing the contact on appropriate Contact Lists will be important when you are ready to send letters and emails to your contacts and members through the Contact Lists section under Development on the Main Menu. For more information about creating Contact Lists, please see Chapter 21 - Contact Lists.
Contact Lists section
There are four buttons to the left of the Contact Lists field. These are the plus sign button, the file folder icon, the red X button, and the info button.
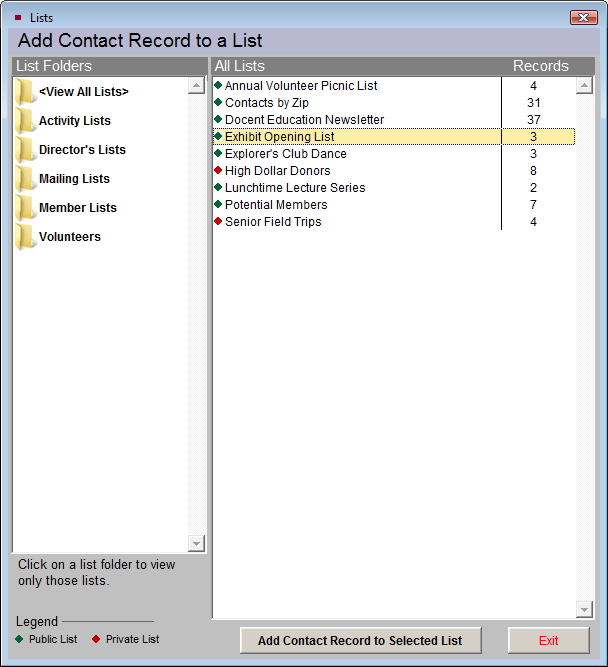
To add a contact to a list:
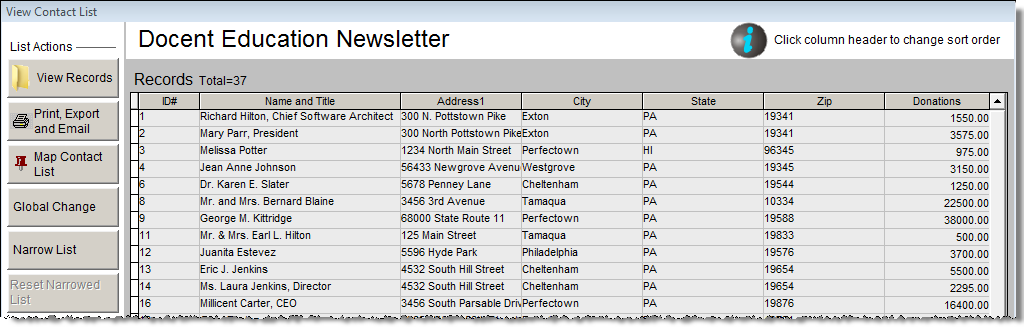
To view all contacts on a list, or perform actions on a list:
To remove a contact from a list:
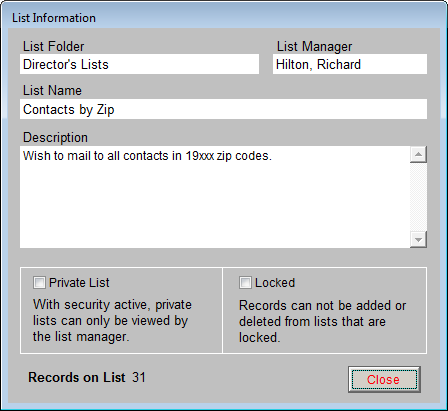
To view more information about a selected list:
In addition to the Contact Lists that you create, PastPerfect has several pre-defined lists to which you may add your contacts. One contact may be on any combination of the User Defined Contact Lists and Fixed Lists. The Fixed Lists can be used for sending letters and emails. The lists to which you may add contacts are: A List, B List, Docent, Employee, Student, Volunteer, and Stop Mail. You may view these lists by clicking on Contact Lists on the Main Menu.
Fixed Lists on Contact screen and Contact Lists screen
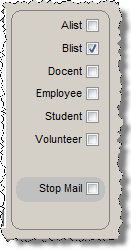
A List and B List - These are lists that you may define for groups at your institution, such as Board Members or Special Guests. You may rename the lists by going to the Main Menu | Setup | Custom Fields | Contacts.
Docent, Employee, Student, and Volunteer - Use these lists to track your institution's docents, employees, students and volunteers. These lists are especially helpful when you need to contact these people as a group, and for keeping track of contacts' roles at your institution.
Stop Mail - Use this to tell PastPerfect not to include this person in mailings. If you check Stop Mail on a contact record, the contact will still be counted in Contact Lists and Fixed Lists, but no letter, label, envelope, or email will be produced for them when you create a mailing. This is helpful if a contact has requested that you not contact them, or for contacts who are deceased.
To add a contact to a Fixed List:
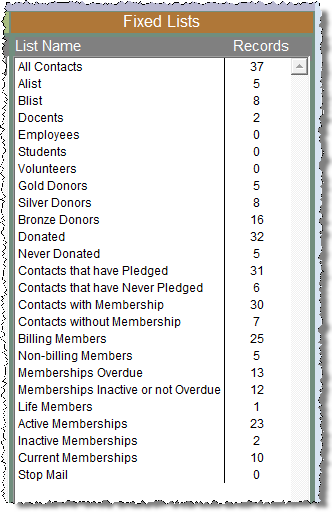
PastPerfect automatically maintains additional fixed lists based on donation and membership criteria. You may view these fixed lists using the View Contacts on Selected List button in the Actions section of the Sidebar or by going to Contact Lists from the Main Menu.
Custom Fields - You may create custom fields for Contacts. There are seven character fields with authority files (UDF 1-3 and UDF 10-13), one date field (UDF 4), and five numeric fields (UDF 5-9). To create your own field names for these fields, go to the Main Menu | Setup | Custom Fields | Contacts. You may also rename the A List and B List on the Custom Fields Setup screen.
Change ID# - This button appears in the Sidebar under Actions when viewing the Mailing Address. If you need to change the contact's ID#, click this button. On the screen that appears, enter the new number and click OK. If the new number is already assigned to another contact, you will be asked to use a different number. If the contact has a membership, this will not change the Membership#.