Custom Fields
Even though PastPerfect comes with hundreds of data fields for describing your collection and tracking your contacts, there may be some information your institution wants to record that does not fit in existing fields. Custom fields give you the ability to add the fields you need.
Access Setup Custom Fields Screen
1.Go to "Settings" on the Main Navigation Bar
2.Click "Custom Fields"
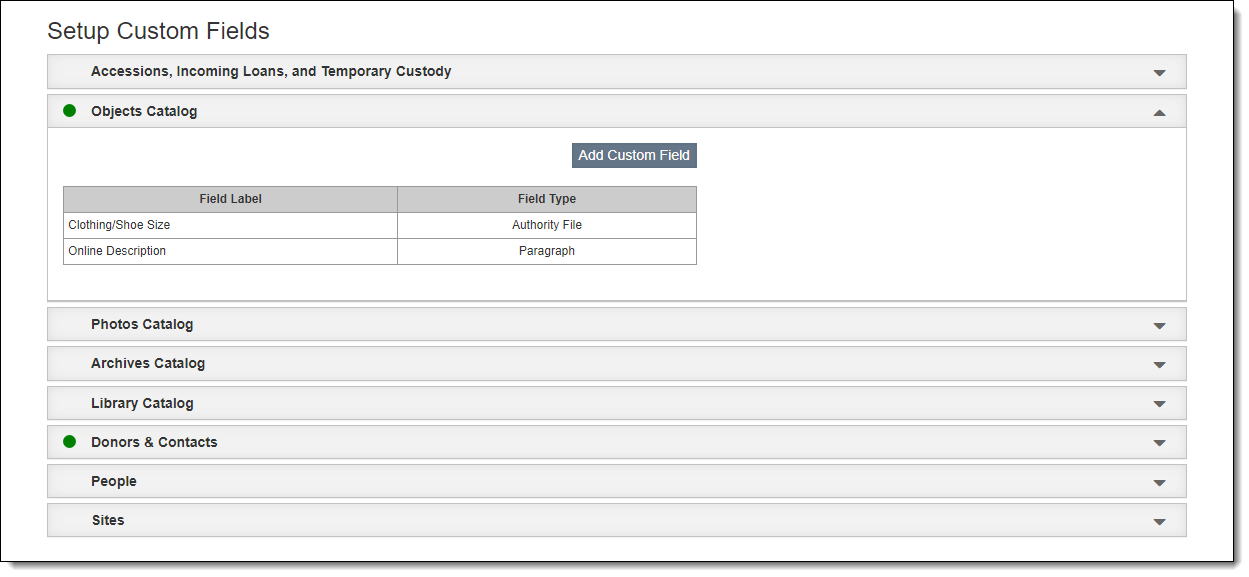
Add Custom Field
1.Expand the accordion for the specific table to which you wish to add a custom field
2.Click the "Add Field" button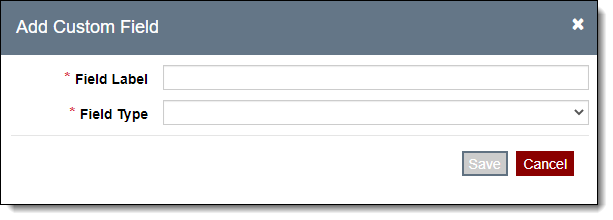
3.Type in the Field Label to display on screen
•Be sure to provide unique field labels. Do not duplicate labels of existing fields.
•Labels can be 64 characters in length including spaces
4.Select the Field Type from the grid below:
•Note: You cannot edit the Field Type once it has been assigned.
|
Text |
May contain alphanumeric data as well as punctuation and spaces. Displays as a single line on the record pages. |
|
Paragraph |
May contain an unlimited amount of alphanumeric data as well as punctuation and spaces. Displays multiple lines and a scroll bar on the record pages. |
|
Integer |
May contain any whole number (no punctuation). |
|
Currency |
May contain numbers with two decimal places. |
|
Floating Number |
May contain numbers with many decimal places. |
|
Date |
May contain a date in the following format: mm/dd/yyyy. |
|
Authority File |
Requires the authority file to be accessed in order to populate the field. |
|
HTML |
May contain valid HTML text and will appear as embedded HTML when not in Edit mode. Will also appear as embedded HTML in Public Access. |
Edit Custom Field Label
1.Expand the appropriate accordion to locate the field on the Setup Custom Fields screen
2.Hover over the field you wish to edit
3.Click the Pencil icon on the right side
4.Make your edits
5.Press "Enter" on your keyboard to save the changes
Delete Custom Field
Note: If you delete a custom field, any data in that field will also be lost. We recommend running a query to be sure the field is empty before deleting a custom field.
1.Expand the appropriate accordion to locate the field on the Setup Custom Fields screen
2.Hover over the field you wish to delete
3.Click the Trash Can icon on the right side
4.Click "Yes" to confirm