User Accounts
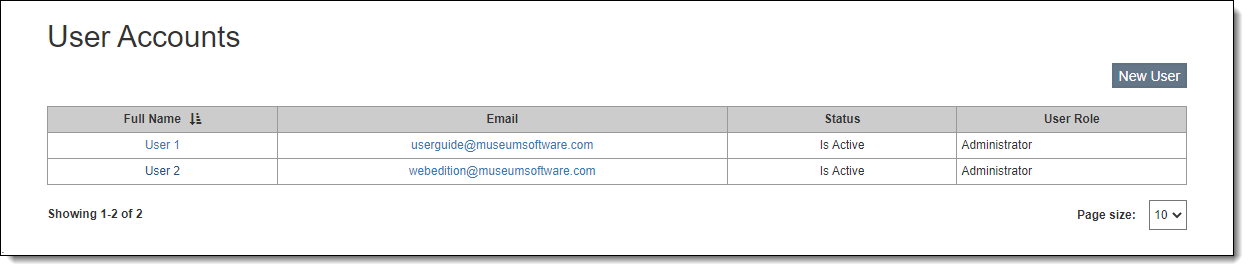
User Accounts are managed from the User Accounts screen under Settings on the Main Navigation Bar. The User Accounts screen displays all users, showing their Full Name, Email, Status, and User Role.
Each user must login with an email address and password. By default, new user accounts are assigned to the role of Administrator, which has no restrictions. If the user should be restricted from certain settings, program areas, and/or functions, you will first need to set up a Role and place restrictions for this user or group of users. For more information, see Roles & Restrictions.
User accounts may be designated Active or Inactive. Active users can log into the program. Inactive users cannot log into the program, but still count toward the max number of users. You may change a user's status at any time.
Add New User
1.Click the "New User" button on the User Accounts screen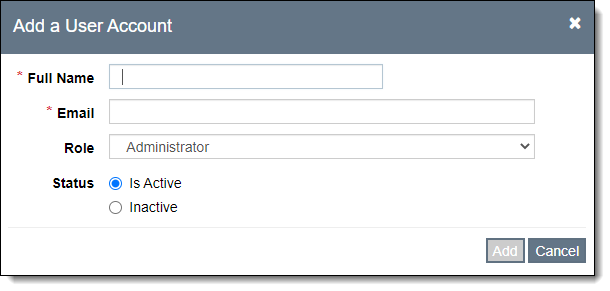
2.Fill in the following fields:
•Full Name – can be entered as First Last or Last, First
•Email – be sure this is a valid email address
•Status – active or inactive
•Role – assign a role based on the restrictions this user should have. For more information, see Roles & Restrictions.
3.Click the "Add" button
Once the new user is added, the user will receive an email with instructions for setting their password and logging in.
Edit User
1.Click the Full Name hyperlink of the user you want to edit
2.Make changes to the Role or Status
3.To change the password, click the Reset Password link. This will send an email to the user with a link to click to change their password.
4.If you need to edit the name and/or email address of a user, please contact our support office for assistance.
5.Click "Save"
Delete User
1.Click the Full Name hyperlink of the user you wish to remove
2.Click the "Remove User" button
3.Click "Yes" to confirm