Creating Custom Views
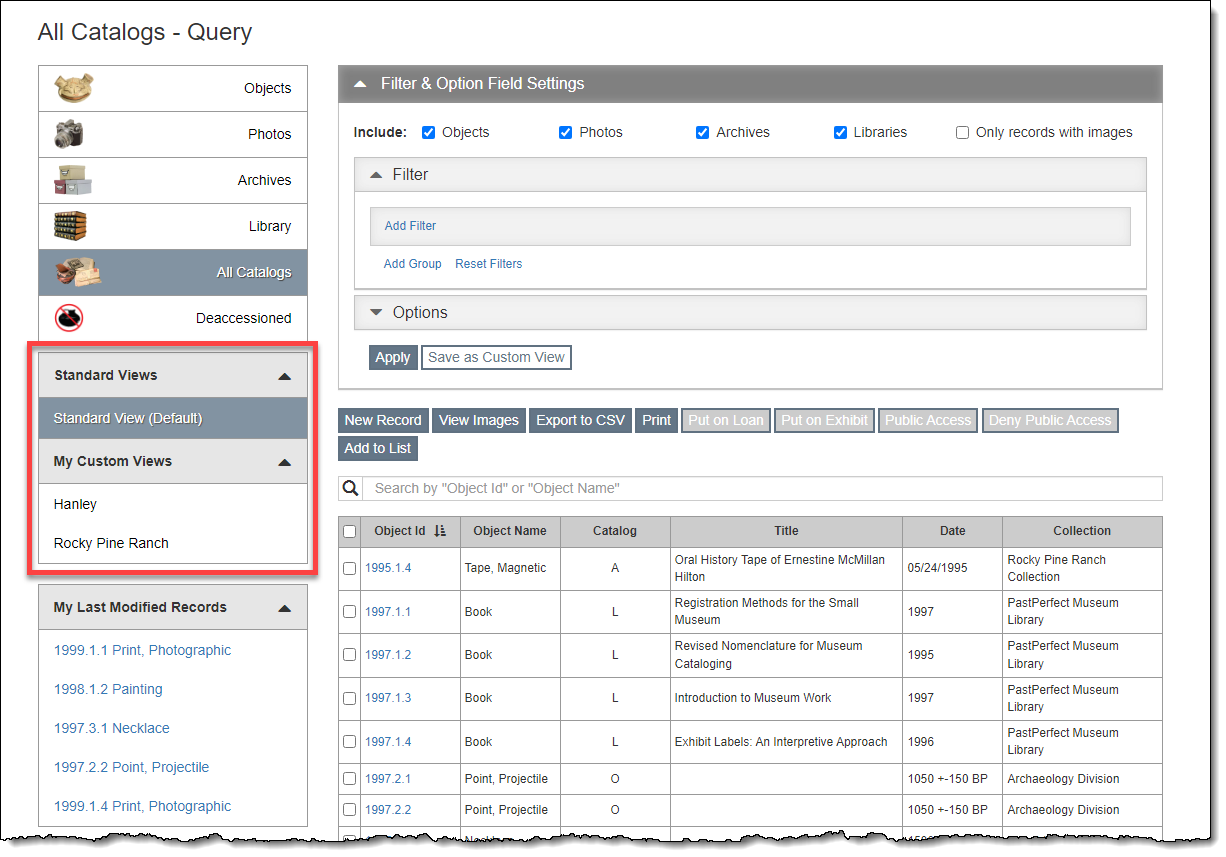
Custom Views are a quick way to see saved subsets of your records without
having to change the Filter and Options sections on the Query
screen each time. Each user has the ability to save their own custom
views on each of the Collection Query screens (Objects, Photos, Archives,
Library, All Catalogs, Deaccessioned, Accessions, Incoming Loans, Returned
Loans, Temporary Custody, Temporary Custody Returned, Exhibits, Loans,
People, and Sites). A custom view includes both the criteria in your filters
as well as the selections made in the Options section (which columns display,
the order of the columns, and how the resulting records are sorted).
Each Query screen also includes a Standard View, which displays all
records and a set of default fields. The Standard View is the same for
all users and cannot be edited or deleted.
Add New Custom View
- Create the filter you want to use to narrow your resulting records
(see Working with Filters
for more details)
- Select which columns you want to display and their order under
Options (see Options
Section for more details)
- Set the Sort by fields if desired
- Click "Apply" to see the results
- Click "Save as Custom View" to save these selections
- Enter a unique name for the custom view
- Click "Save." The new custom view will be listed
on the left under My Custom Views.
Update Existing Custom View
- Click the name of the custom view under My Custom Views for the
view you would like to change
- Make the desired changes to the Filter and Options
- Click "Apply" to see the results
- Click "Update Custom View" to save the changes within
the current view or click "Save as New View" to save your
changes with a new view name
Edit Existing Custom View Name
- Hover over the custom view you want to change under My Custom Views
- Click the Pencil icon on the right side of the view name
- Edit the name of the view
- Press "Enter" on your keyboard to save the changes
Delete Custom View
- Be sure you are not currently viewing the custom view that you
would like to delete
- Hover over the custom view you want to delete
- Click the Trash Can icon on the right side of the view name
- Click "Yes" to confirm
Change Default View
- Click the name of the custom view under My Custom Views for the
view you want to set as the default view
- Click "Mark as Default View" in the Filter & Option
Field Settings
- Click "Yes" to confirm
- "(Default)" will appear next to the Custom View name