Record screens contain the bulk of your data. These are where you enter new data and view data on existing records. The screens vary based on the record type, but there are general features that appear on all record screens.
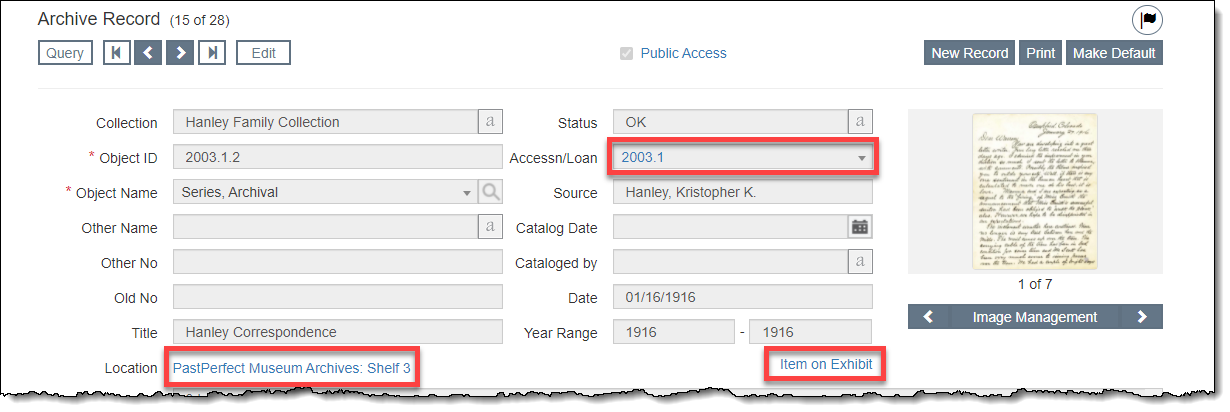
The record type displays in the top left of the record screen and indicates which screen you are viewing. Next to the record type is the record count of the subset you are viewing (e.g. 10 of 83).
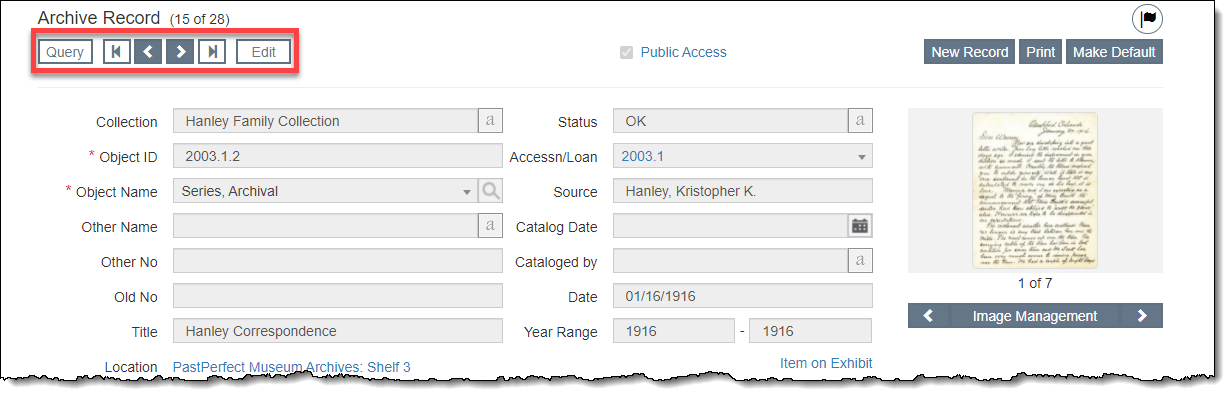
To move through a set of records, use the back arrow or forward arrow found in the Edit Bar below the Main Navigation Bar. To move to the beginning of the file, use the back arrow with a line. To move to the end of the file, use the forward arrow with a line. Avoid using the browser buttons for navigation if you can use the record navigation buttons within the program.
Use the "Query" button to get back to the query screen for the records in the catalog where you are working. If you applied a filter, the filter will still apply.
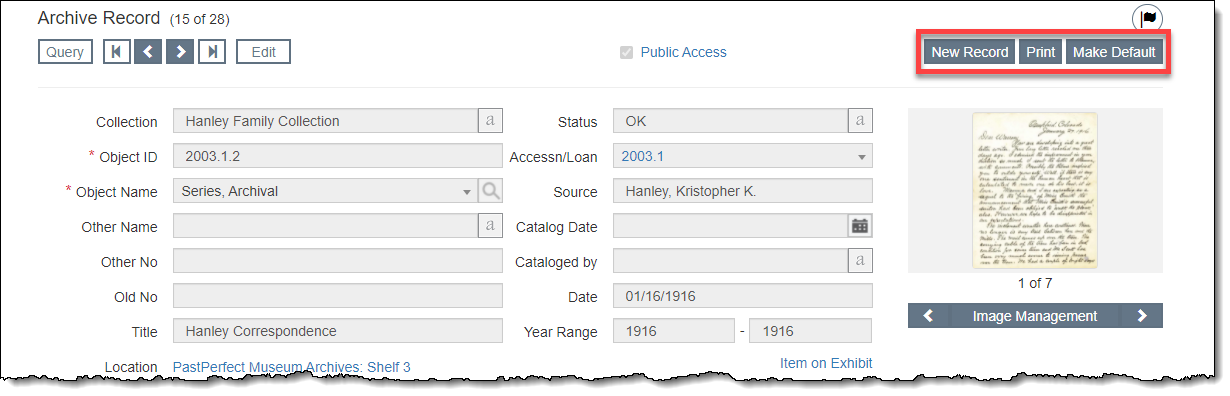
Action buttons are located in the top right corner of the record screen. Additional action buttons may appear when you are in Edit Mode. The action buttons vary depending on the record type you are viewing.
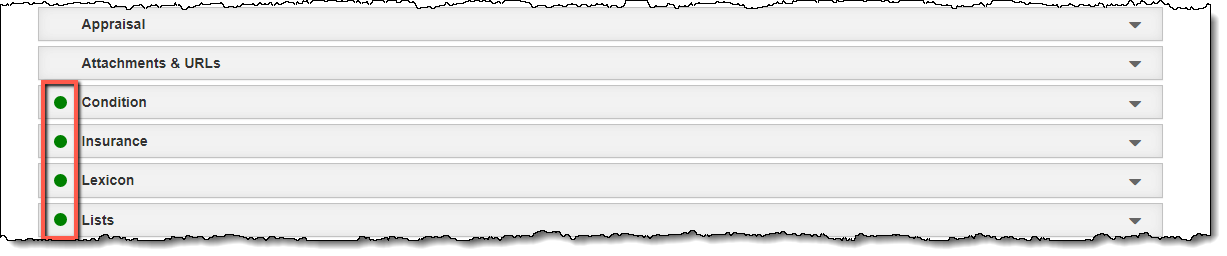
To save screen space, PastPerfect uses accordion screens that you can expand and collapse. To expand an accordion, click the accordion bar. To collapse an accordion, click the accordion bar again, or use "Collapse All" to close all open accordions.

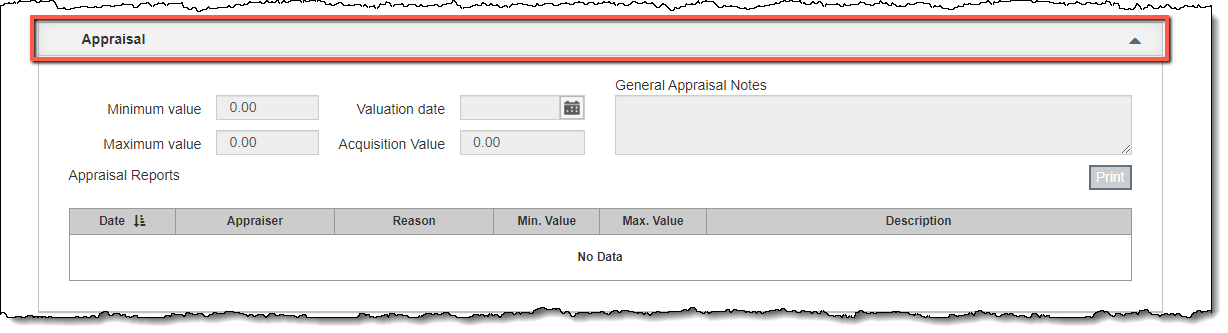
When there is data within an accordion, a green data light will display on the left side of the accordion bar.
Some actions, like clicking on an image or adding a donation, will result in a smaller screen opening on top of the main screen. To close that window, click the "Cancel" button, "X" in the top right, or anywhere outside the pop-up window. You will return to the screen displaying behind the pop-up window.

If you see text in blue, this is a hyperlink. Clicking a link will either bring you to a record, jump to a certain accordion, or open a pop-up window.
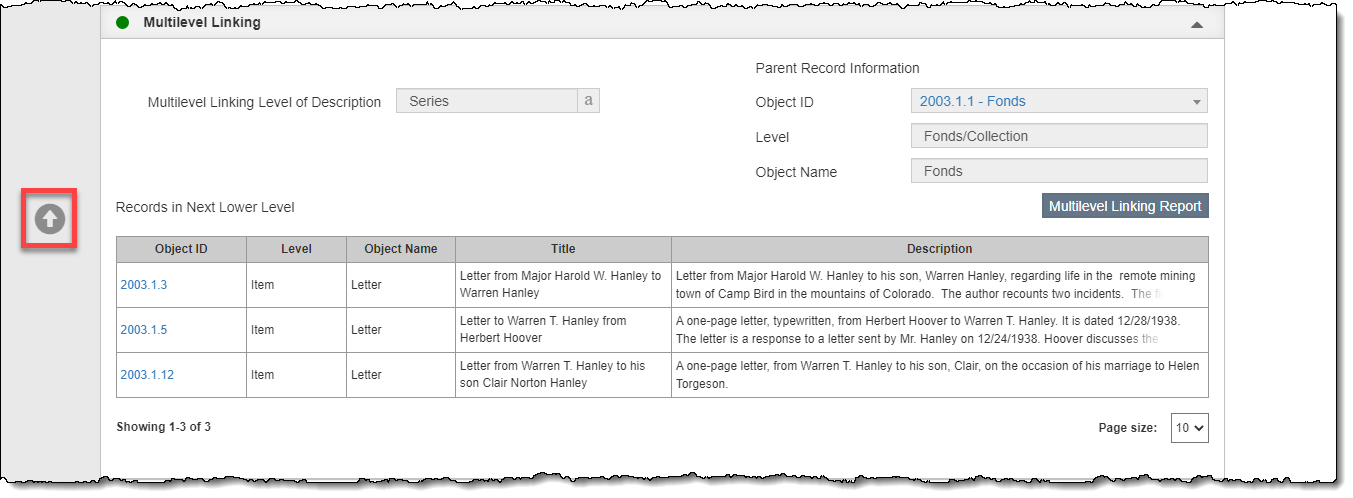
On Catalog screens, an arrow will appear when you hover over the left side of the screen. This arrow helps you move up or down on the screen without having to use your scroll bar.
For fields that can contain an unlimited number of characters, there will be two little diagonal lines in the lower right corner of the field. Clicking on these diagonal lines and dragging up or down will expand or shrink the field temporarily to show more or less text.

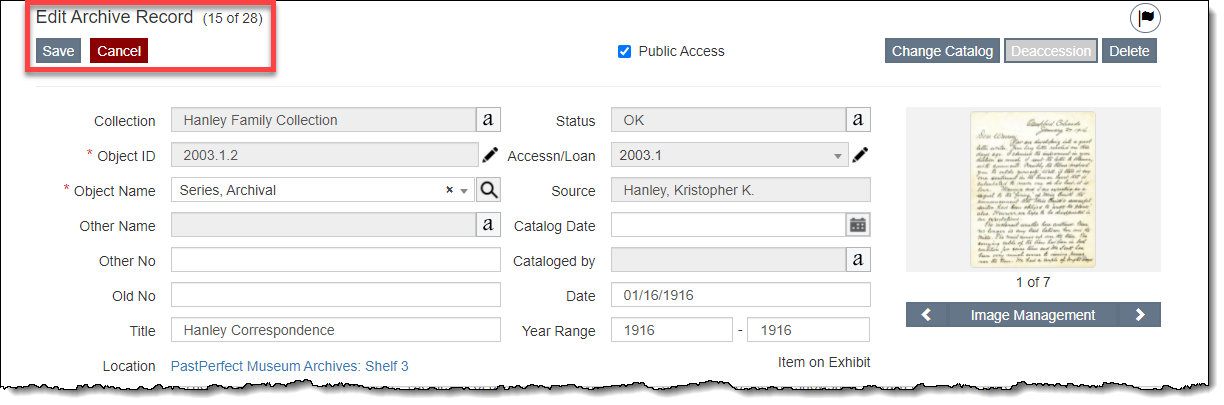
To edit a record, click "Edit" at the top left of the screen. Click "Save" to save your changes. If you have made changes to a record and click "Cancel" instead of "Save," you will be asked if you want to discard your changes. Your changes will not be saved if you use the browser buttons to go forward or back a screen after making a change to a record.
When you edit fields within an accordion, a red data light will appear on the left side of the accordion bar indicating the information has not yet been saved.

The Authority File icon displays to the right of most authority file controlled fields. Click the icon to access the Authority File for that field. See Using Authority Files for more details.

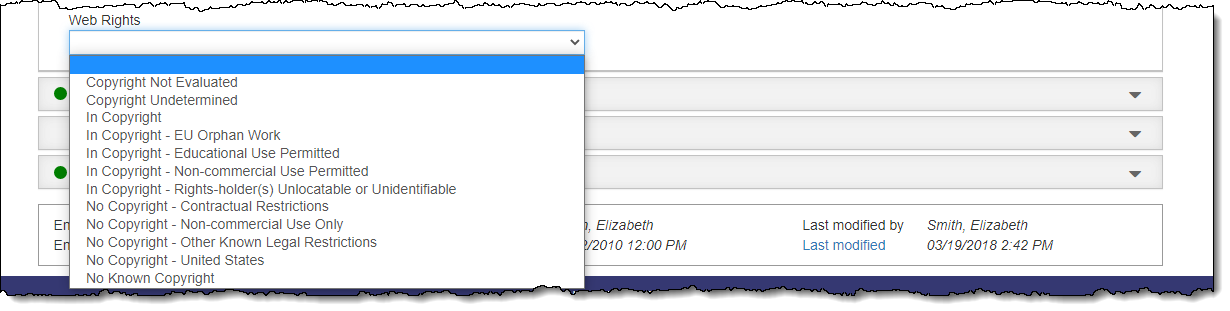
Some fields restricted to using an authority file will display a drop-down list when you click on the field. Choose a term from the drop-down list to add it to the field.
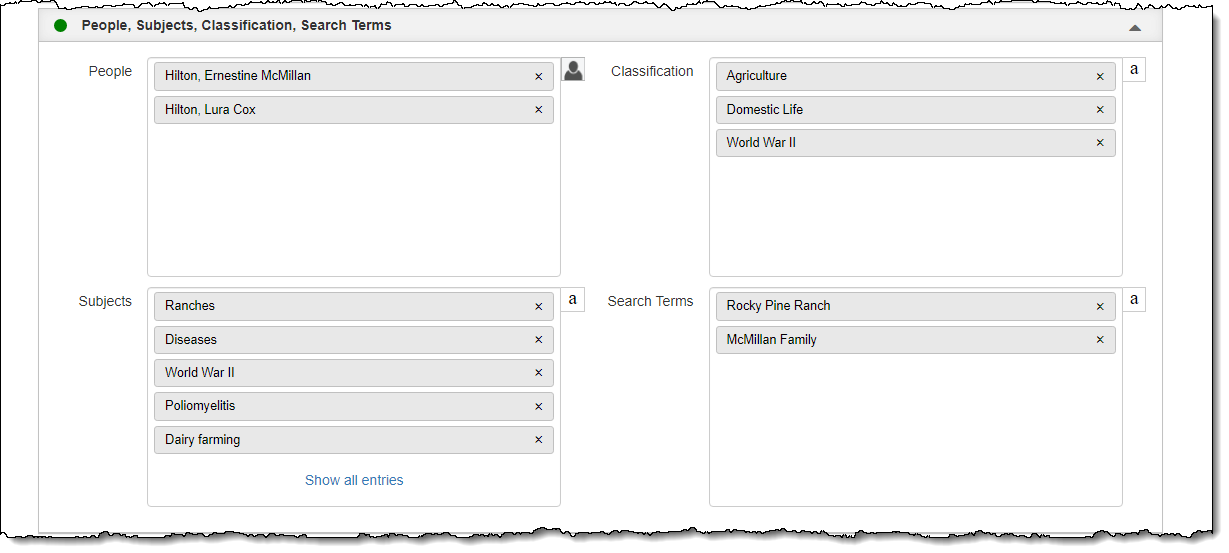
Multiple Entry Fields are controlled by authority files and can contain multiple entries. If a field contains more than five entries, click the "Show all entries" link to view the full list of entries. See Using Authority Files for more details.
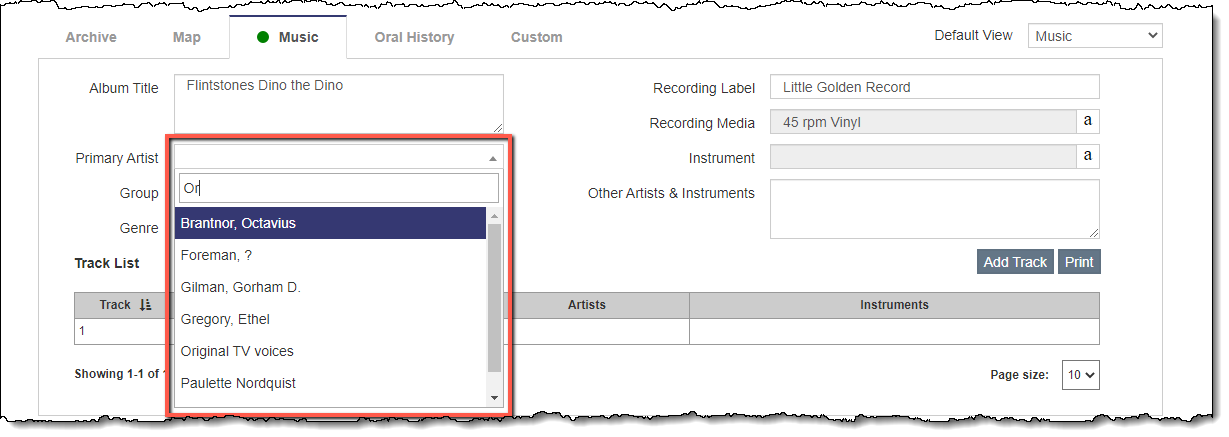
Some fields combine a drop-down list with a field search. These fields are controlled by other program areas. Scroll through the alphabetical list of entries or begin typing to search for any entries containing the text you typed. If the entry you want is not on the list, you will need to save your work and go to the appropriate program area.
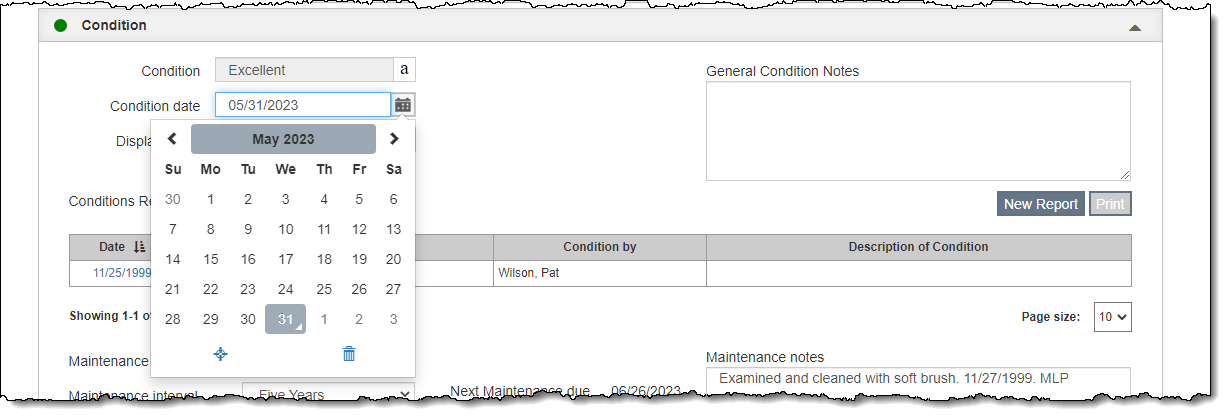
Fields restricted to entering data in a date format (MM/DD/YYYY) have a Calendar icon.

You may enter a date manually or click the icon to choose a date from the pop-up calendar. Use the buttons at the bottom of the calendar to jump to today's date or to cancel.
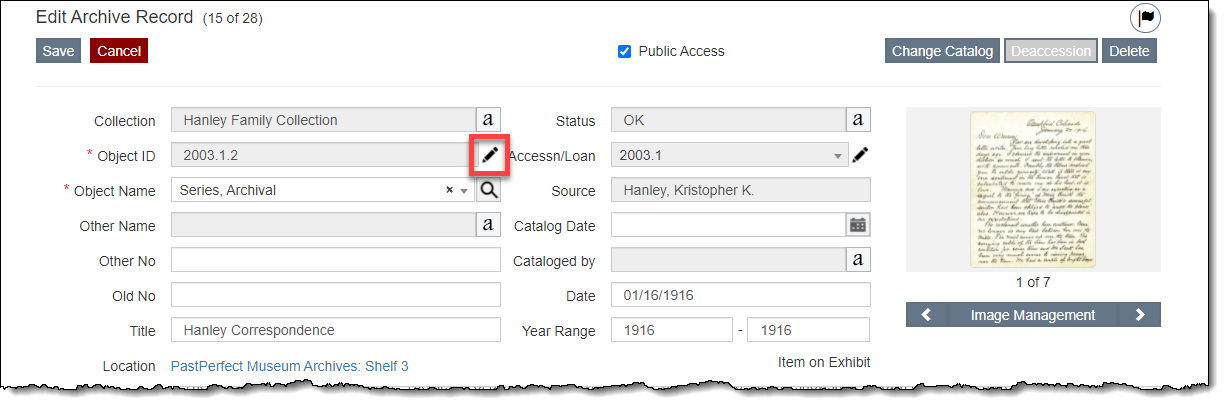
The Pencil Icon indicates to make a change to the field, you must first click the icon before you are able to edit the field.
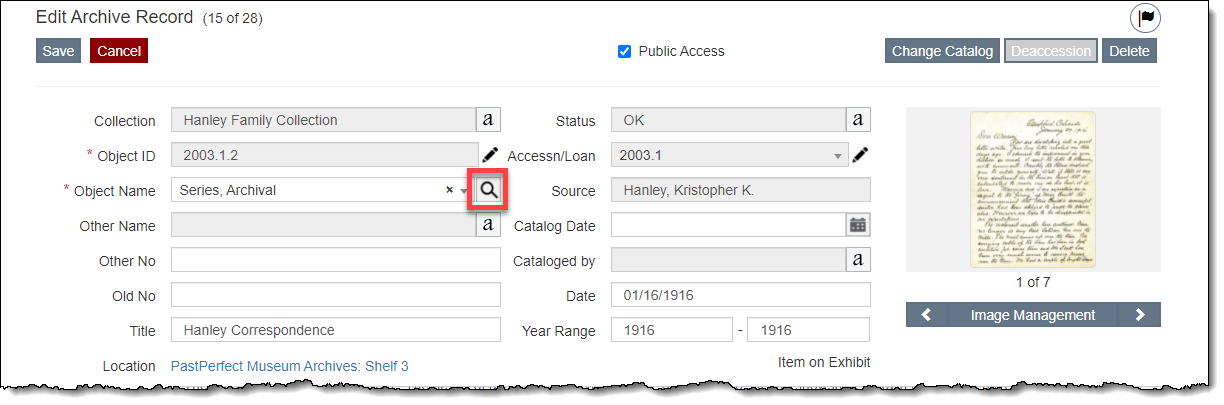
The Object Name field in Objects, Photos, Archives, and Library has a Magnifying Glass icon. Use this to search the Lexicon for the object name you would like to use.
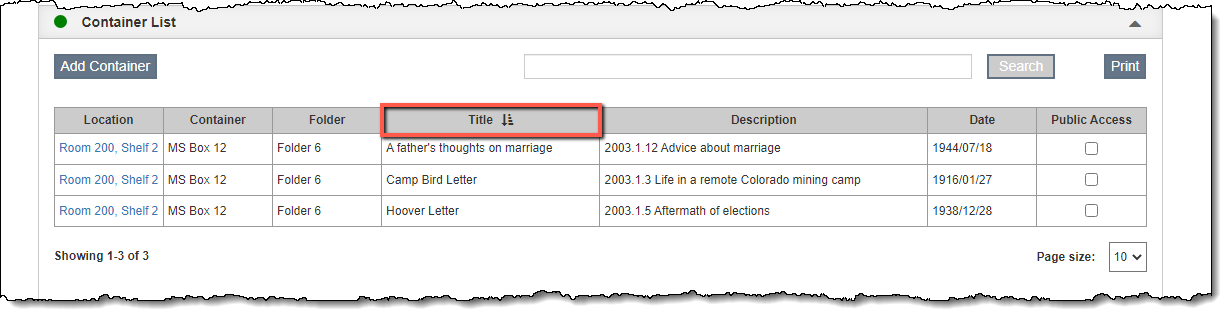
Tables can be sorted by clicking on a column header. Clicking the column header a second time will sort the table by that field in descending order.
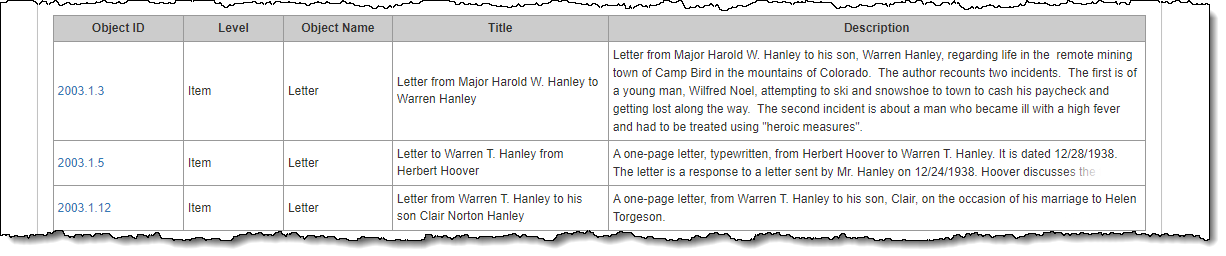
In some tables, longer fields like Description may be cut off. To display the full text, click on the text to expand the field.

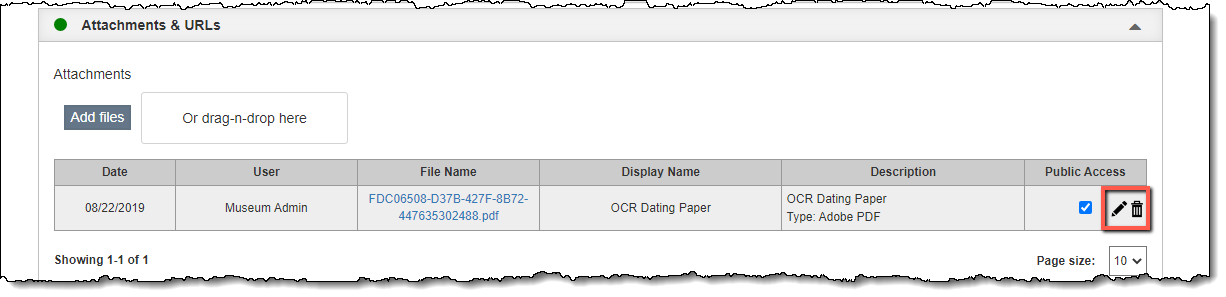
Some tables have an option to edit or delete items directly from the grid view. To edit or delete an item, hover over the item while in Edit Mode. Two icons will appear on the right. Clicking the Pencil icon will allow you to edit the item. Clicking the Trash Can icon will allow you to delete the item.