Installing PastPerfect Online
Concept
All organizations, whether you are new to PastPerfect Online or have
used one of our previous versions, need to follow this installation procedure.
Following this procedure on one workstation will automatically enable
the PastPerfect Online upgrade on all workstations.
Task
- Check to make sure that your PastPerfect program meets the system
requirements for PastPerfect Online.
- Insert the PastPerfect Online Upgrade CD into your computer.
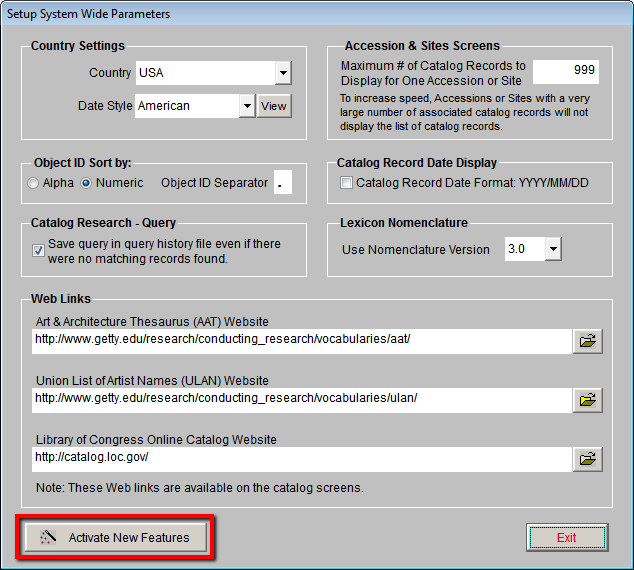
- From the Main Menu of PastPerfect click on Setup and select
System Parameters.
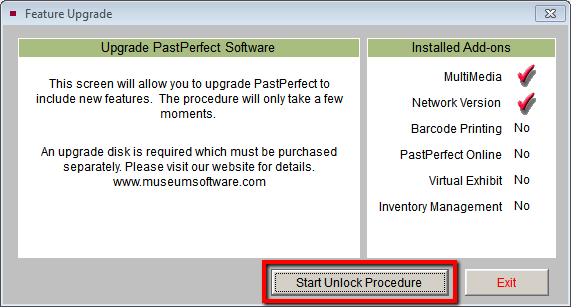
- Click Activate New Features.
- Click Start Unlock Procedure.
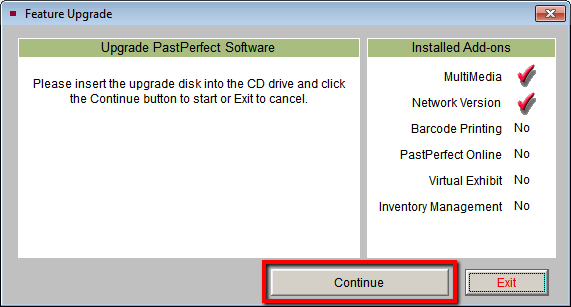
- A message will appear asking you to insert the upgrade disc into
the CD drive, please make sure the CD is in place and then click Continue.
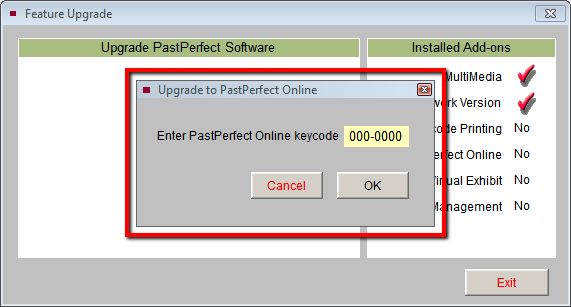
- Enter your seven digit Keycode and then click OK. This Keycode
is located on your Welcome Letter as well as on the envelope for your
PastPerfect Online installation CD.
- You will receive a message saying the installation is complete,
click Exit to return to the
Main Menu.
- From the Main Menu of PastPerfect click PastPerfect Online.
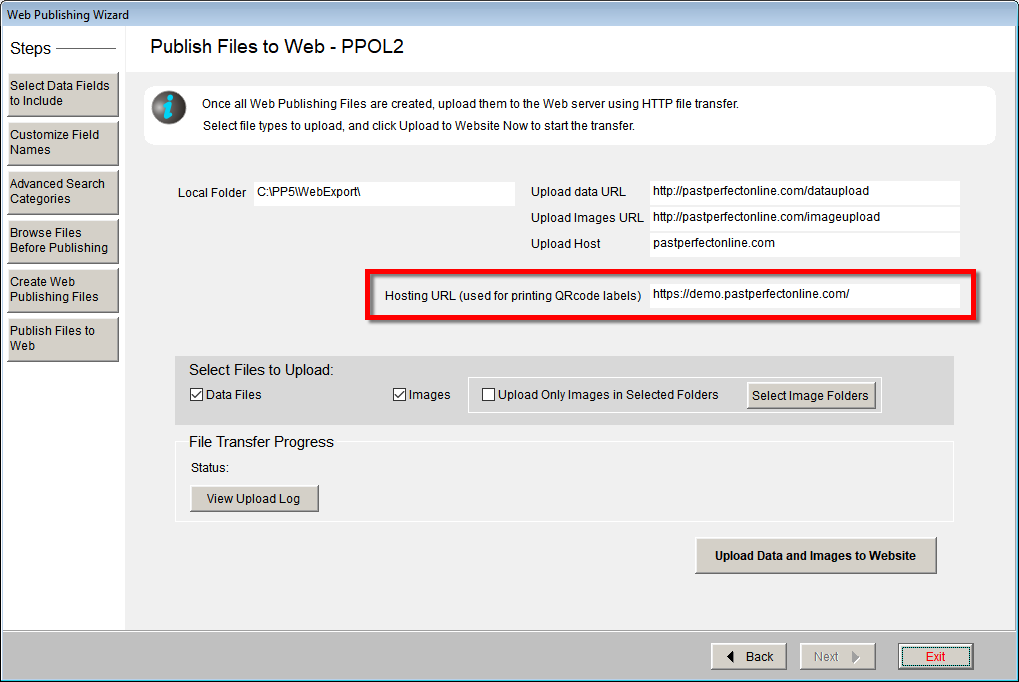
- Go to the final step of the Web Publishing Wizard by clicking the
Publish Files to Web button.
- Fill in the Hosting URL field with the PPO Site Address
located on your Welcome Letter. Ensure that the Hosting URL ends with
a / .
References