Interface Management Site - Uploading a Missing Images Override Image
Concept
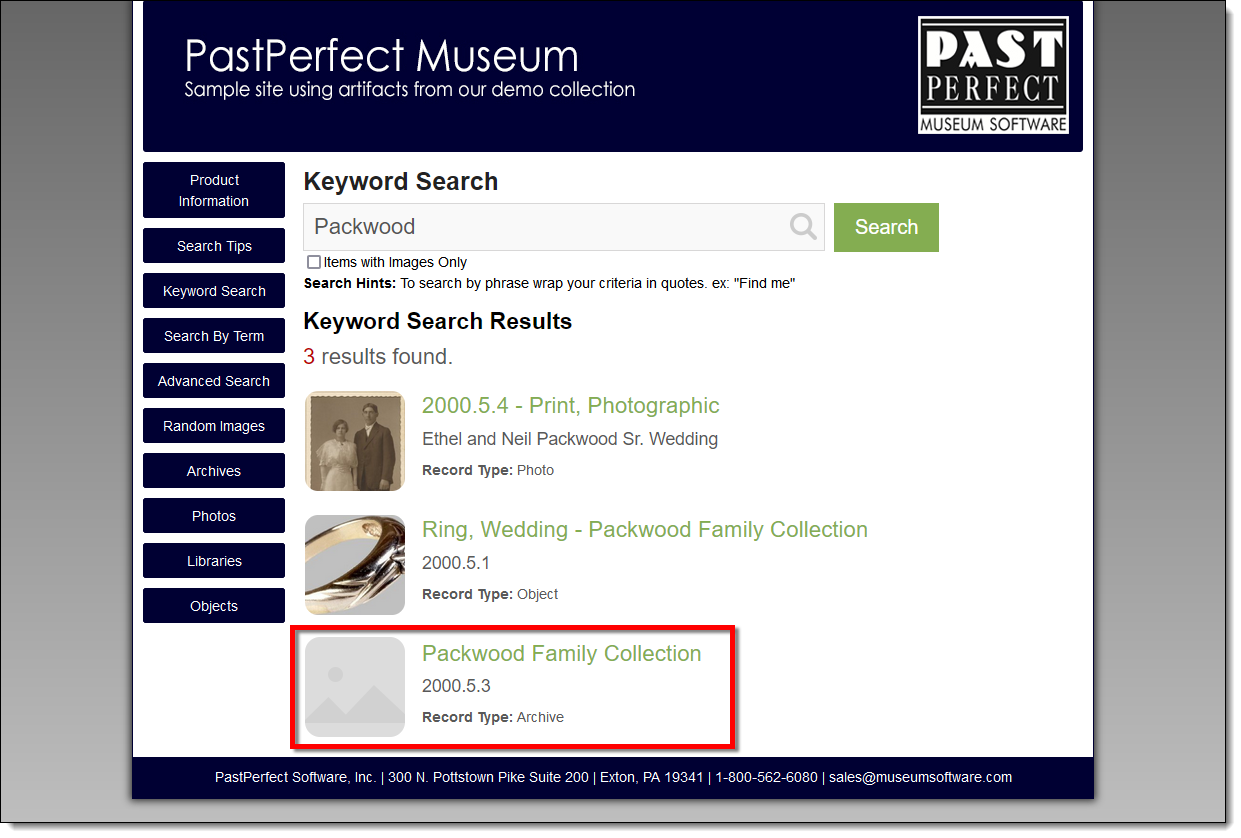
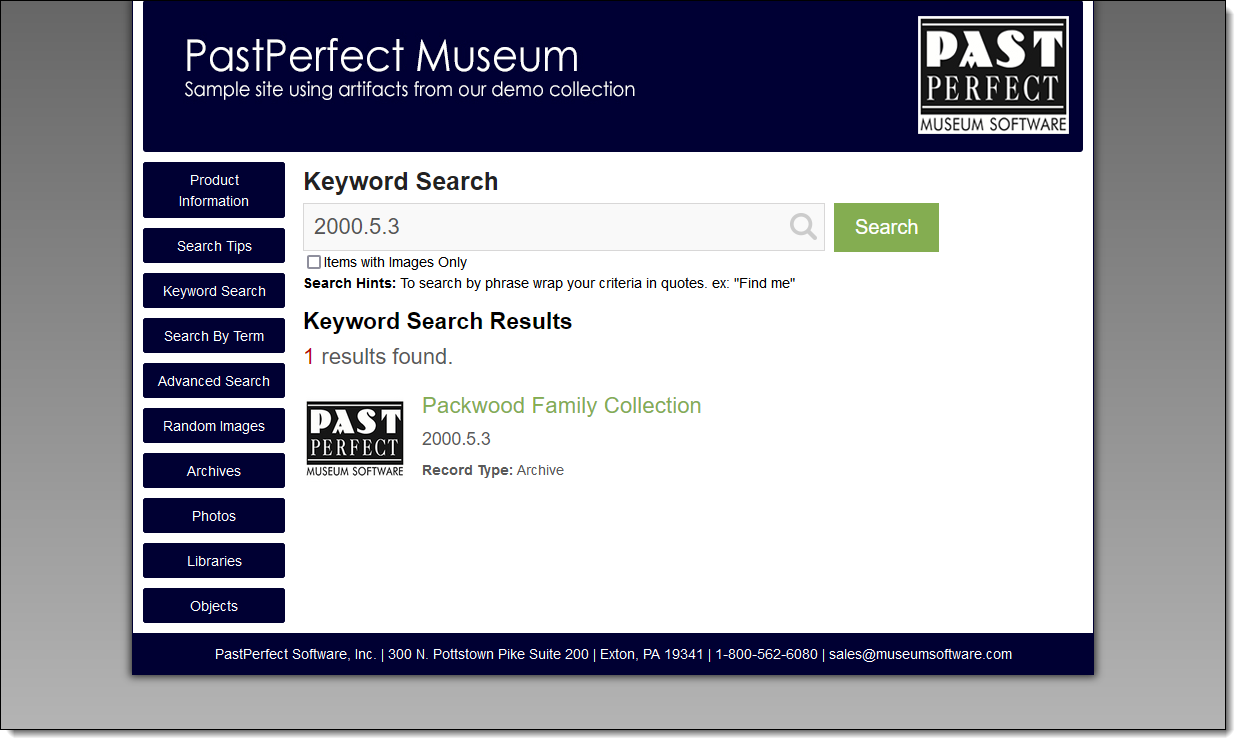
To further customize your site you can upload an image to display for
records that have no attached images. By default, these records will display
a gray-scale image, as seen below. You can change this image at any time.
Task
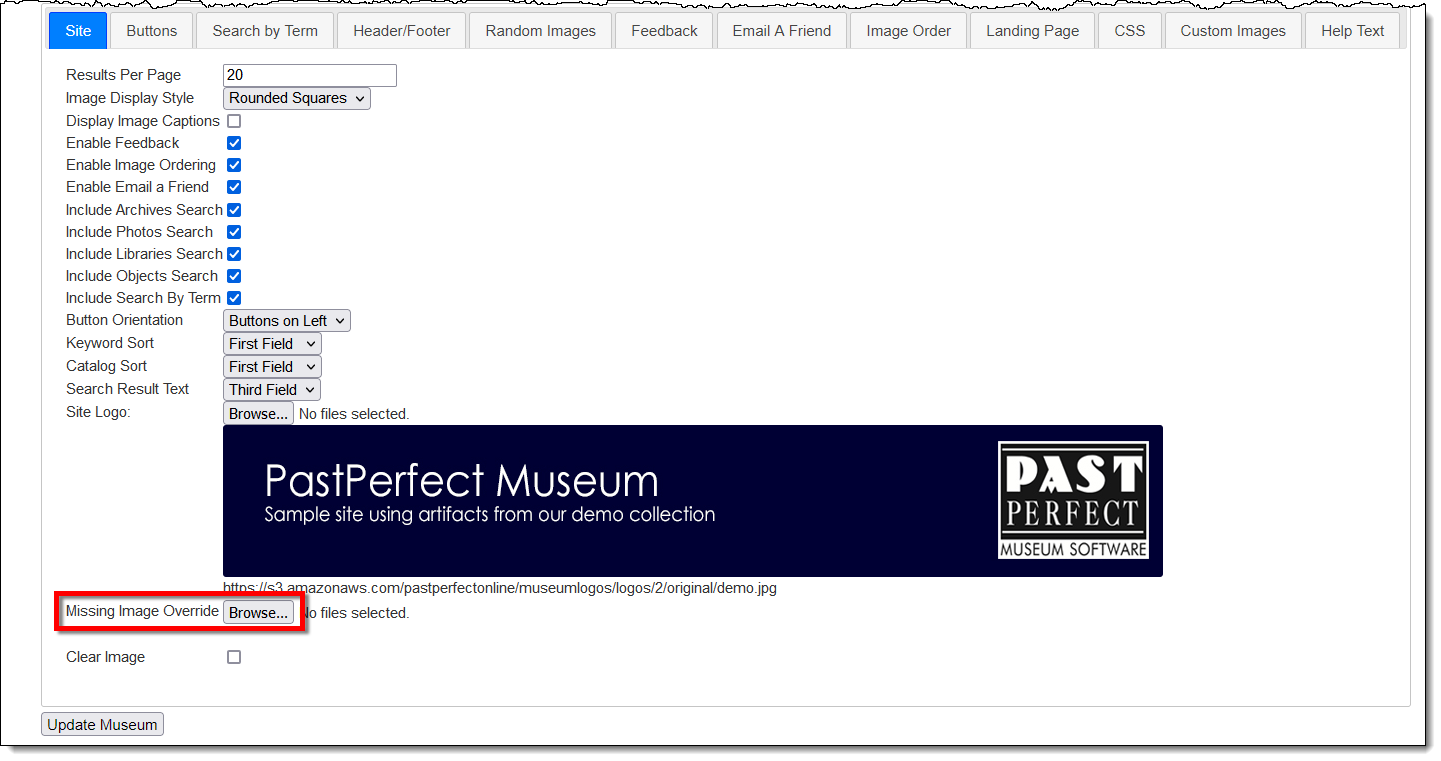
Adding a Missing Image Override
- Sign in to https://admin.pastperfectonline.com.
- Select the Site tab.
- Click the button o the right of Missing Image Override. This may
say Choose File or Browse,
depending on your browser.
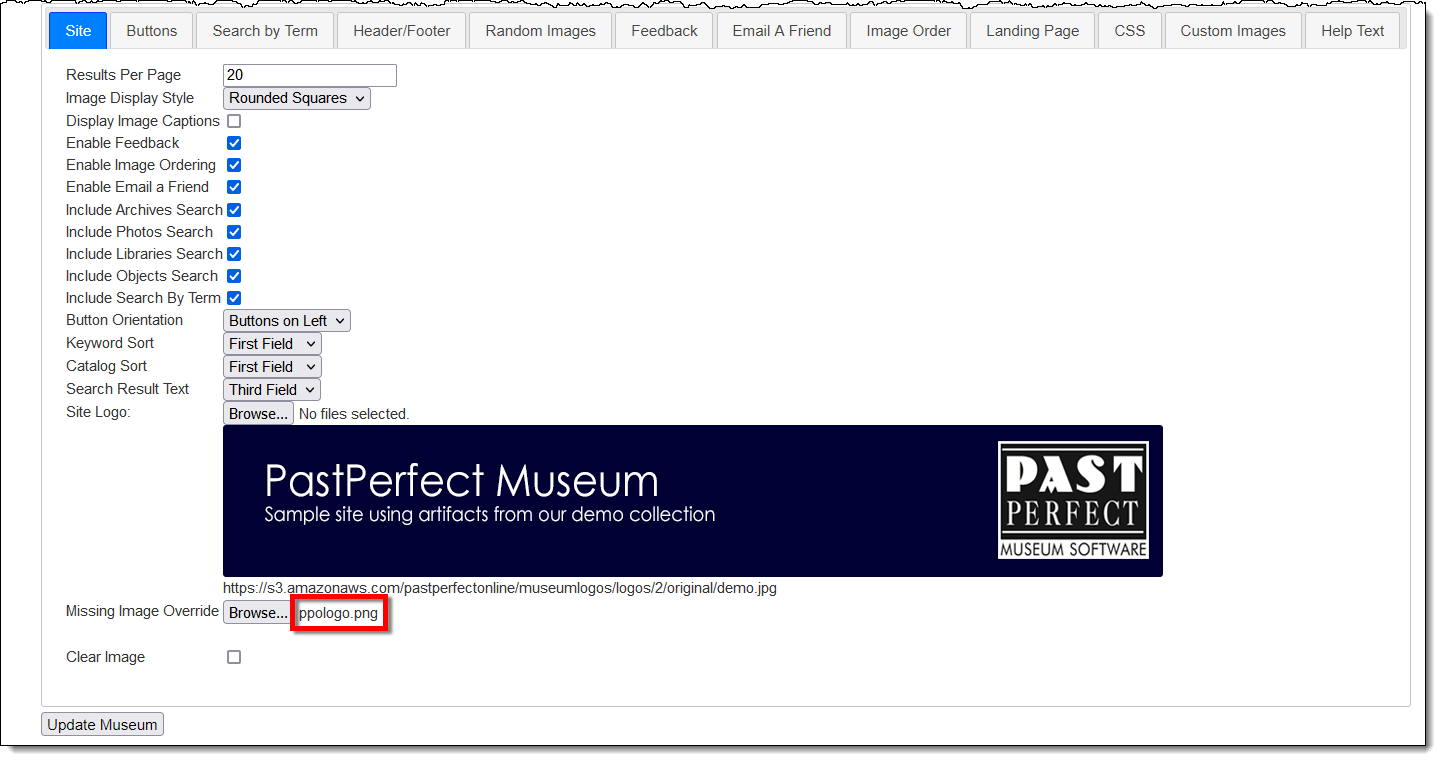
- Navigate to the location where the image is saved, select the file,
and then click the Open button. You will see your image name
display next to the Choose File button.
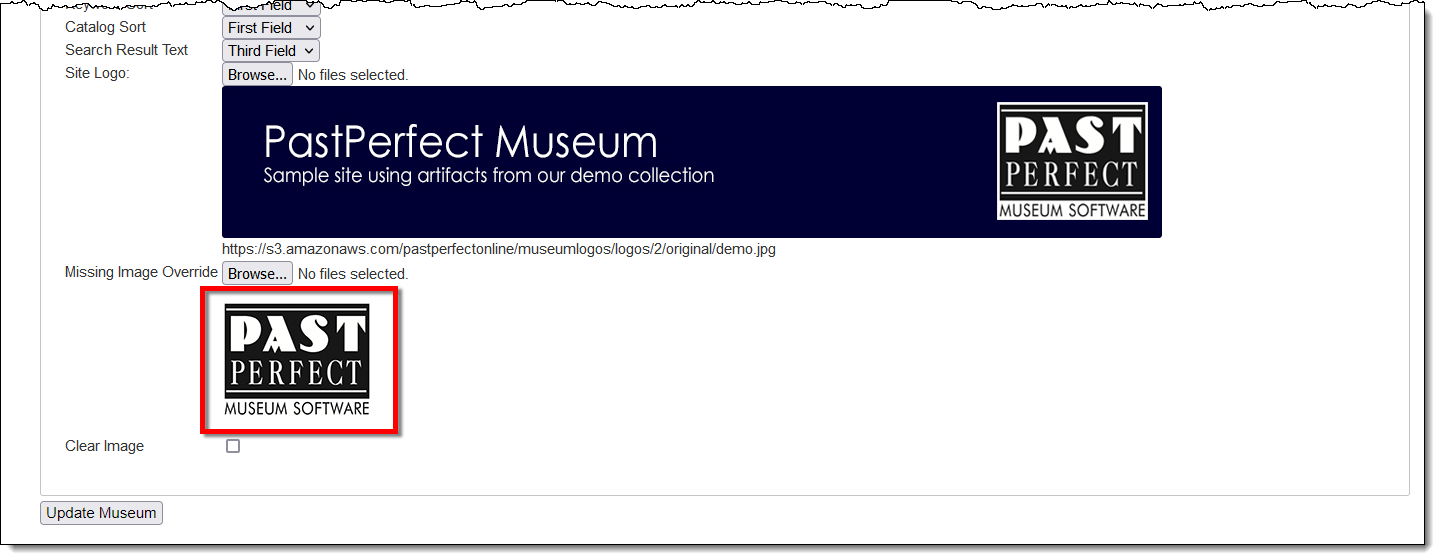
- Click the Update Museum button at the top or bottom of your
page to save the changes.
- When the page refreshes you will see the image display.
- Click the Open Web Site
link at the top of your page.
- Search for a record that you know does not have an image attached
to see your replacement image.
Removing a Missing Image Override
- Sign in to https://admin.pastperfectonline.com.
- Select the Site tab.
- Put a check in the Clear Image checkbox at the bottom of
the page.
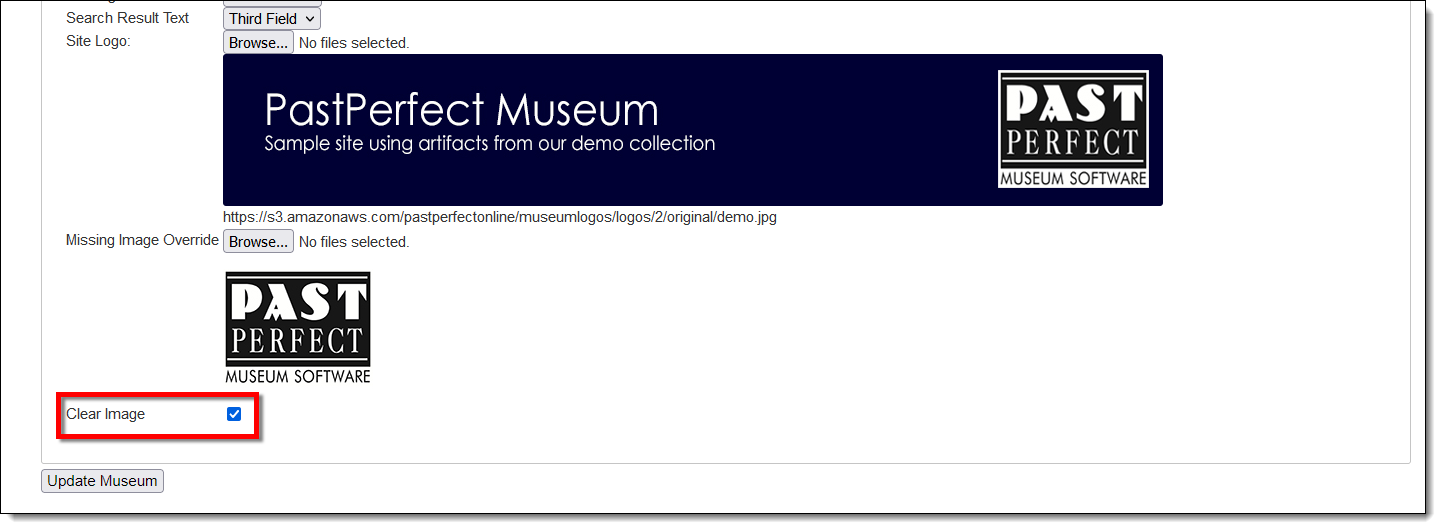
- Click the Update Museum button at the top or bottom of your
page to save the changes.
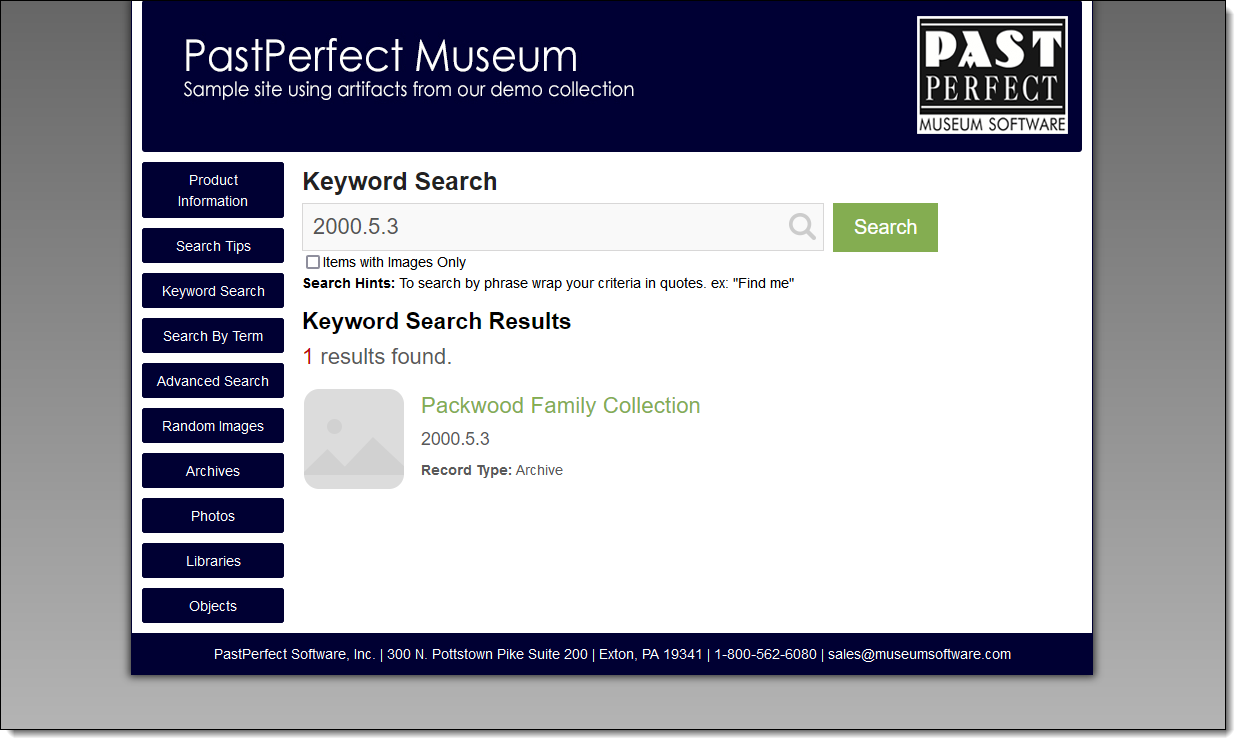
- Click the Open Web Site
link at the top of your page.
- Search for a record that you know does not have an image attached
to see that the default Missing Image has returned.
References