After an incoming loan has been returned, it is still important to retain a record of the returned loan. These records are created by returning an Incoming Loan record, which creates an Returned Incoming Loan record.
The Returned Incoming Loans section is found by clicking "Returned Loans" under Accessions on the Main Navigation Bar. For more information about working with Query screens, see Collections Query Screens. For more information about Incoming Loan records, see Incoming Loans.
For the steps on returning an Incoming Loan record, see Return an Incoming Loan Record.
After you have returned an incoming loan, an Incoming Loan Return Receipt document may be printed for each contact to confirm the return of the items. The template for this document may be set up first to speed up the process, see Accessions and Loans Documents.

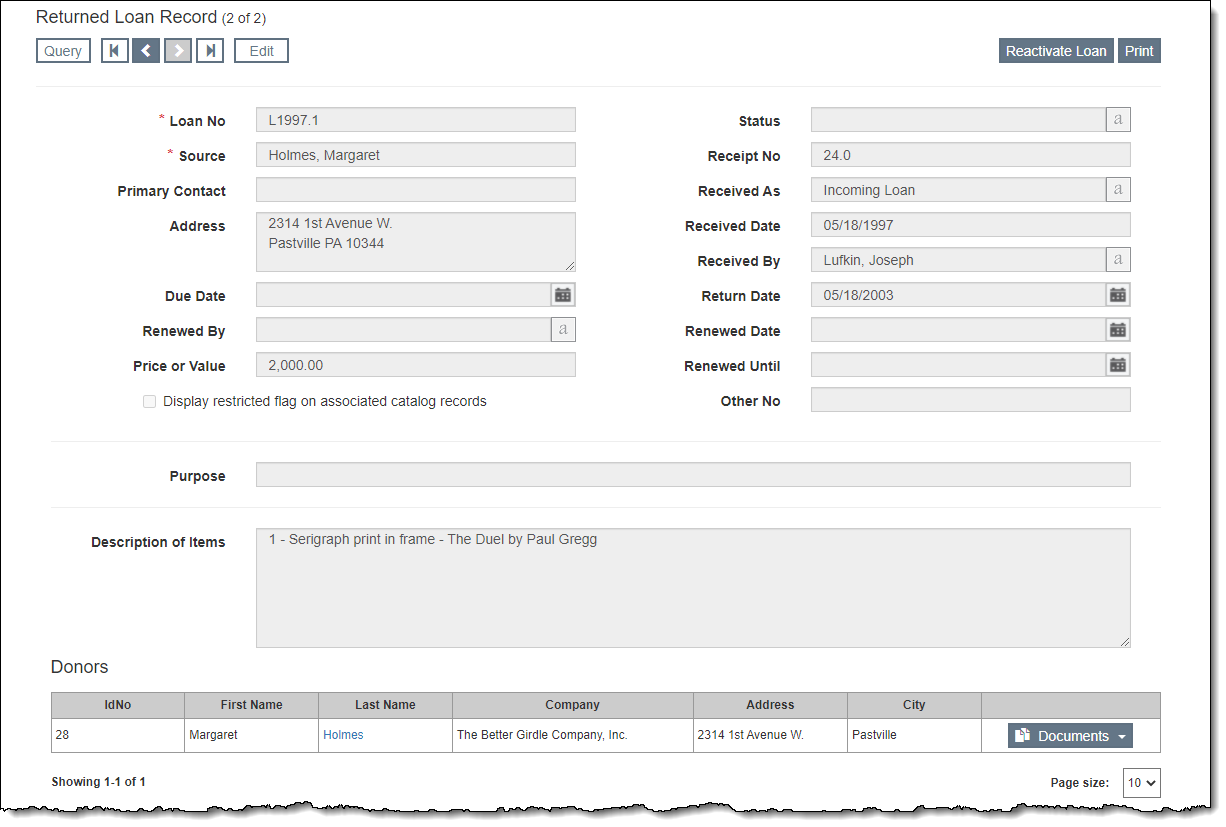
If an incoming loan was returned by mistake, you can reactivate it back to the current Incoming Loans section. Catalog records associated with the Returned Incoming Loan will be moved back to the catalogs and can be accessible from the Catalog Records Accordion of the Incoming Loan record.