
The Location Accordion contains inventory details, home and temporary locations, and mapping fields.
The top portion of this accordion has fields and buttons relating to inventory along with exhibits and loans.
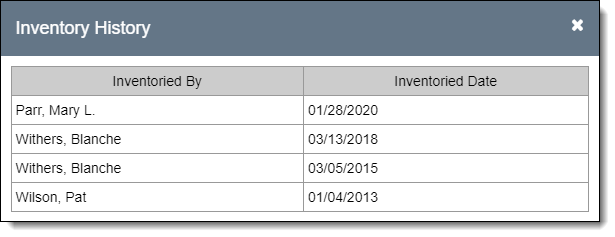
When the Last Inventoried By and Last Inventoried fields are populated, a record is automatically created in the Inventory History. Click the "Inventory History" button to view a brief history of when the item was inventoried and by whom.
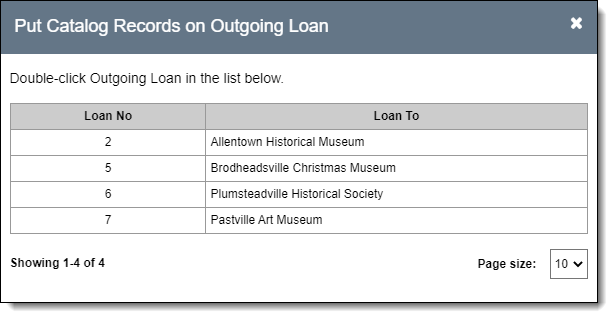
Once an item has been returned from a loan (which is done from the Loan record), click the "Loan History" button to view a brief history of which loans the catalog record was part of. Fields in the Loan History include Loan No, Loaned To, Out Date and Returned.

Once an item has been removed from an exhibit (which is done from the Exhibit record), click the "Exhibit History" button to view a brief history of the exhibits the catalog record was part of. Fields in the Exhibit History include Exhibit Name, Start Date, and End Date.
The middle portion of the Location Accordion displays current location information.
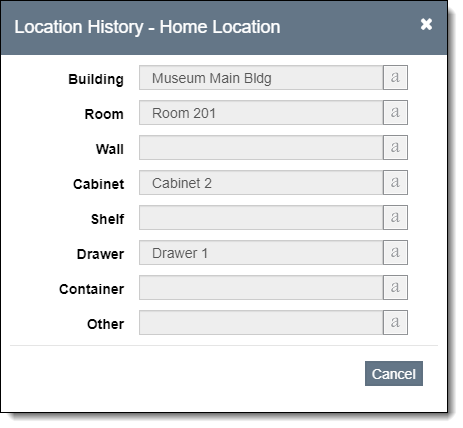
Each location is composed of 8 individual location fields: Building, Room, Wall, Cabinet, Shelf, Drawer, Container, and Other. The user may use whichever fields are appropriate for each item. These fields can be renamed under Catalog Item Location Fields. All location fields are controlled by authority files, and each authority file is shared by all catalogs (see Using Authority Files).
Each catalog record has fields for both a Home Location and a Temporary Location. A green checkmark indicates whether the item is currently in the Home Location or the temporary one. When any of the Temporary Location fields are populated, the item is considered to be on Temporary Location. The Temporary Location tab has additional required fields to indicate why the item is in a temporary location, who authorized it, and for how long. When an item returns to the Home Location, the Temporary Location fields are cleared.
The grid of locations below the current location tabs is the Location History for the item. Each time you make a change to the location fields or switch between Home Location and Temporary Location, the program will keep a record of the modified location in the Location History grid.
To view the details of a location history record, click the hyperlink in the Type column of the Location History grid.
To print a list of the location history records, click "Print" above the Location History grid and then click "Preview."

The bottom part of this accordion has mapping fields. When the Latitude and Longitude fields are populated, click "View on Map" to see the location within Google Maps.